
Key Takeaways
- Broken AI hands ruin otherwise usable images and cut into revenue. A prevention-first workflow plus targeted inpainting fixes most issues in under ten minutes.
- Lock five Photo Control dimensions before generation to eliminate roughly 70 % of hand errors at the source: shot style, expression, object, setting, and outfit.
- Use concrete geometric prompts and a concise negative prompt list that covers extra fingers, fused fingers, and malformed anatomy to reduce post-generation fixes.
- When errors remain, apply Sozee’s six-step Refine inpainting sequence with a wrist-extended mask, 0.60–0.75 denoise, and lighting-matched prompts to repair hands without regenerating the entire image.
- Creators ready to scale hand-perfect content can get started with Sozee today →
Lock Photo Control to Prevent Hand Errors Upfront
The fastest way to cut AI hand editing time is to prevent most errors before generation. Standardized negative prompts and structured generation controls in a commercial workflow reduce edits and increase the share of images that ship without any touch-up.
Sozee’s Photo Control turns this prevention approach into a repeatable studio process. Before you generate a single image, you deliberately lock five dimensions.
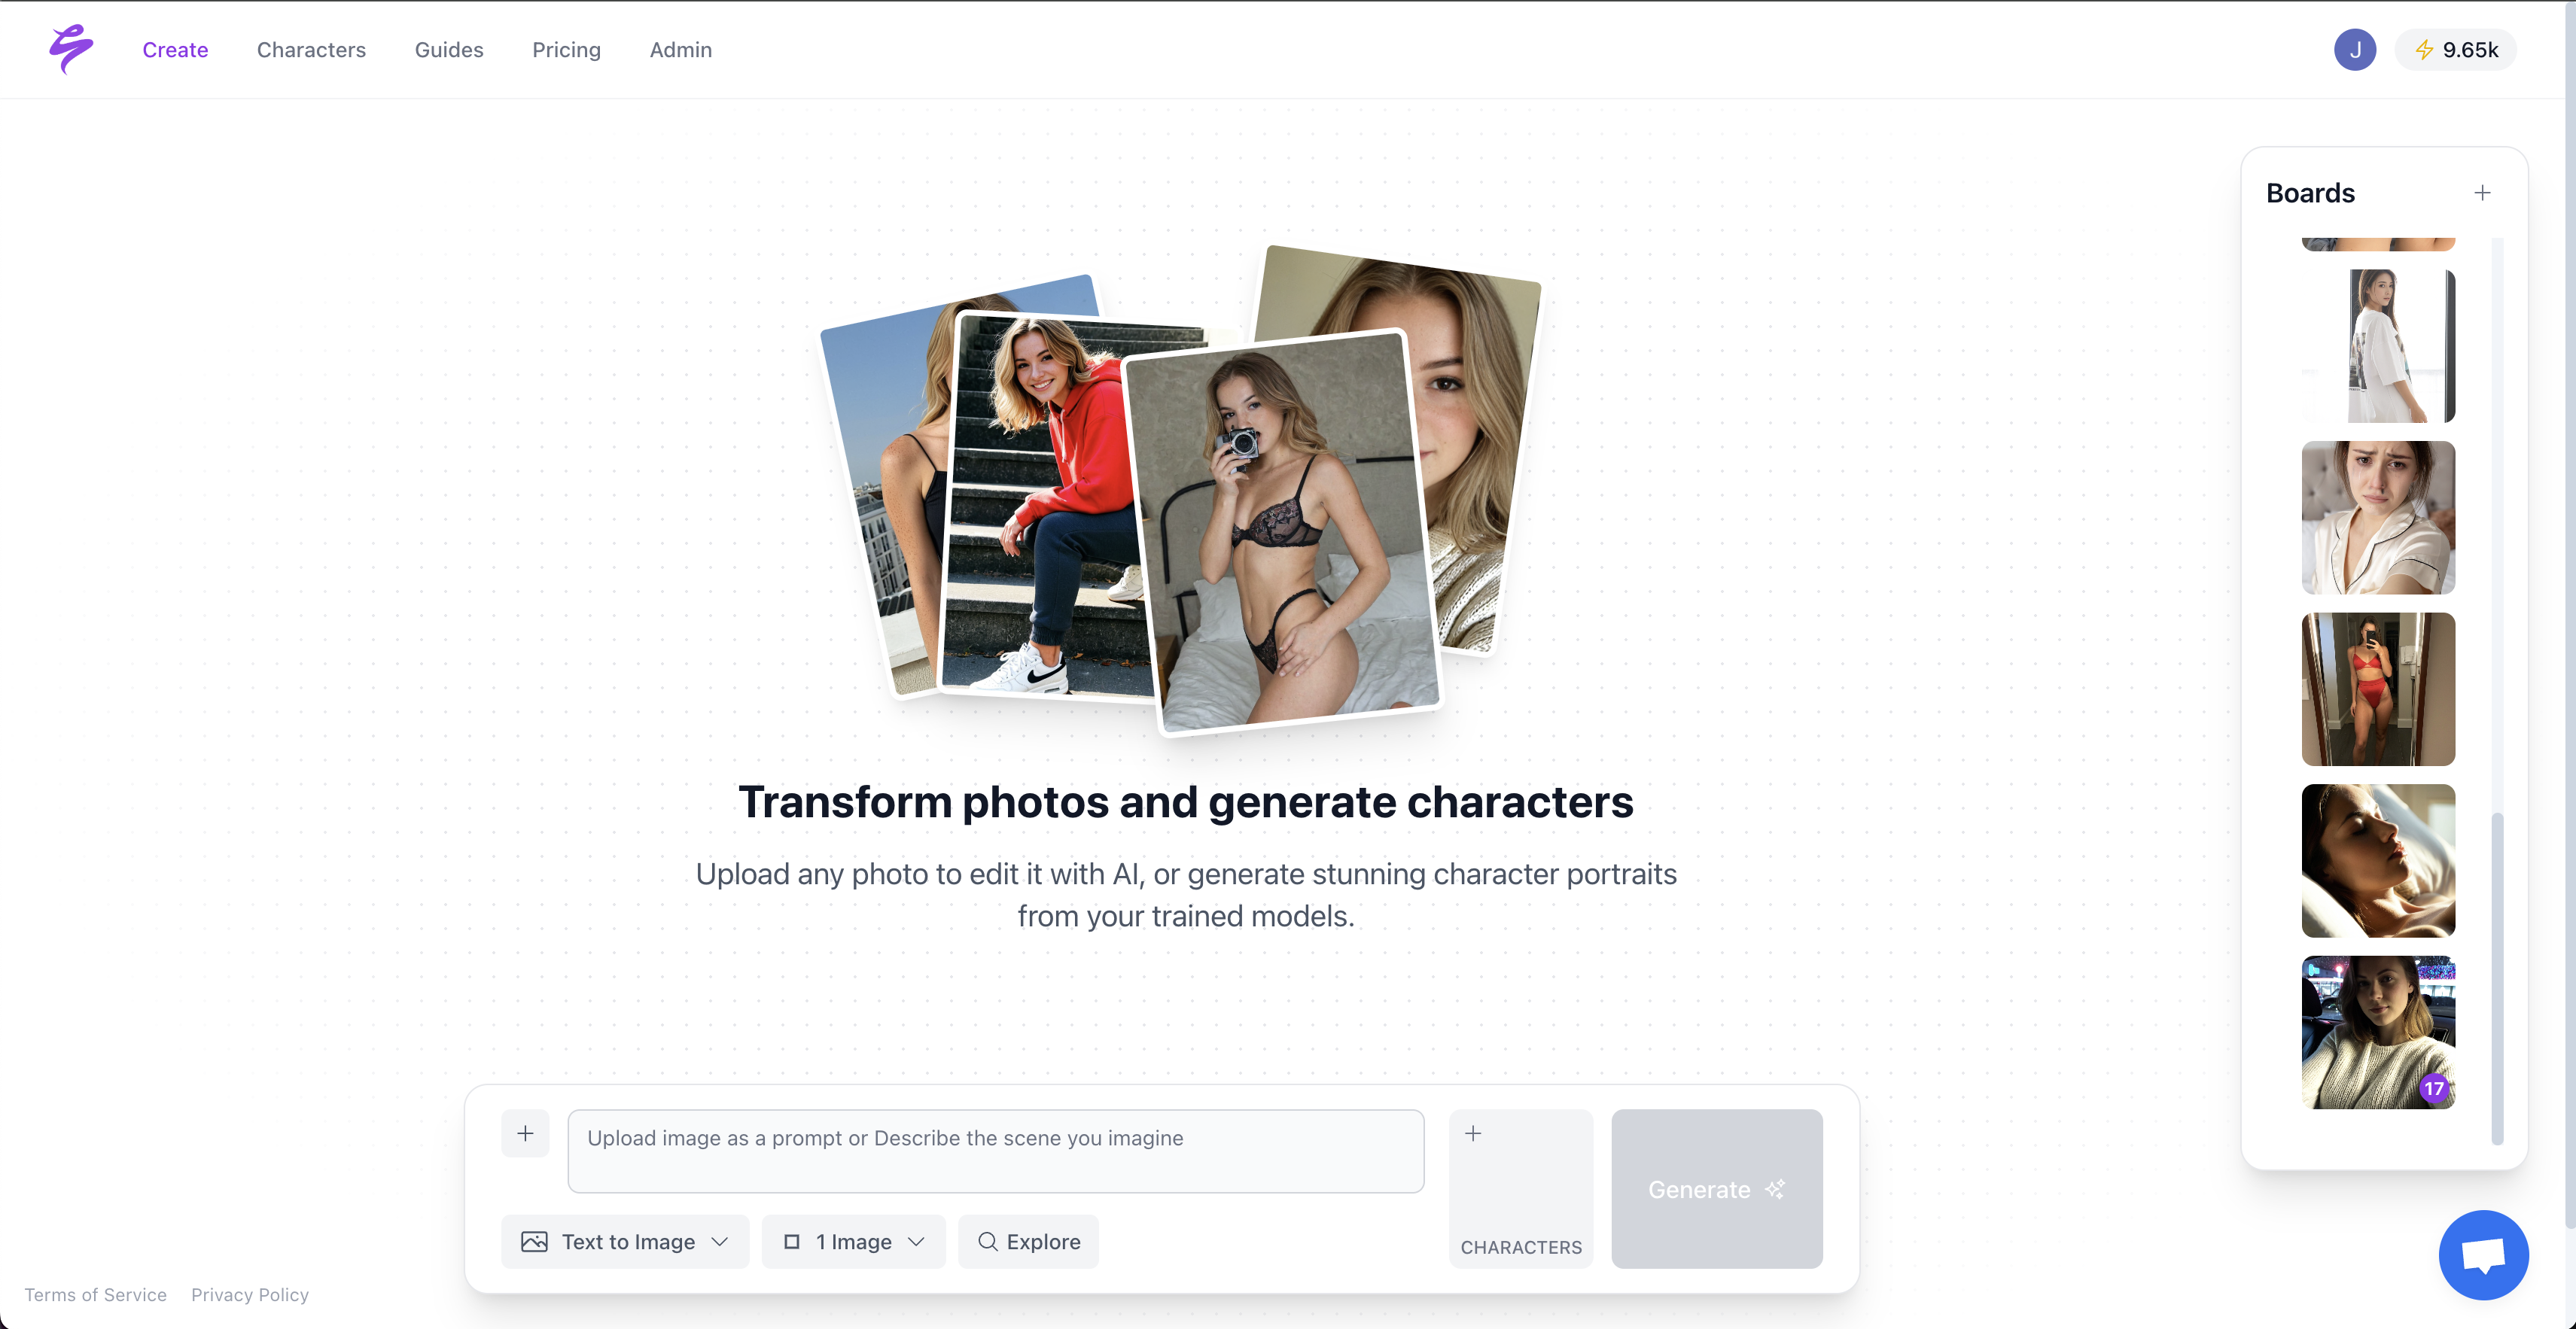
- Shot style. Frame the image as a waist-up portrait or headshot to remove hands from the composition entirely when they are not needed.
- Expression. A defined expression anchors the pose and reduces the model’s need to invent body language.
- Object. Placing a specific prop in the Object slot forces a concrete hand interaction. An occupied hand provides geometric constraints that anchor finger positions, so “right hand holding a coffee cup” stays more reliable than any abstract appearance instruction.
- Setting. A locked environment gives the model consistent lighting and surface references, which reduces anatomy drift.
- Outfit. Sleeves, gloves, or long cuffs can reduce the visible hand area without hiding the character.
Once these five Photo Control dimensions are locked, the next prevention layer is prompt construction itself. Concrete geometric descriptions such as “woman standing with arms relaxed at sides, slight three-quarter turn to the left, weight on right foot” help the model resolve a consistent skeleton, while vague descriptions like “woman standing” force it to invent anatomy.
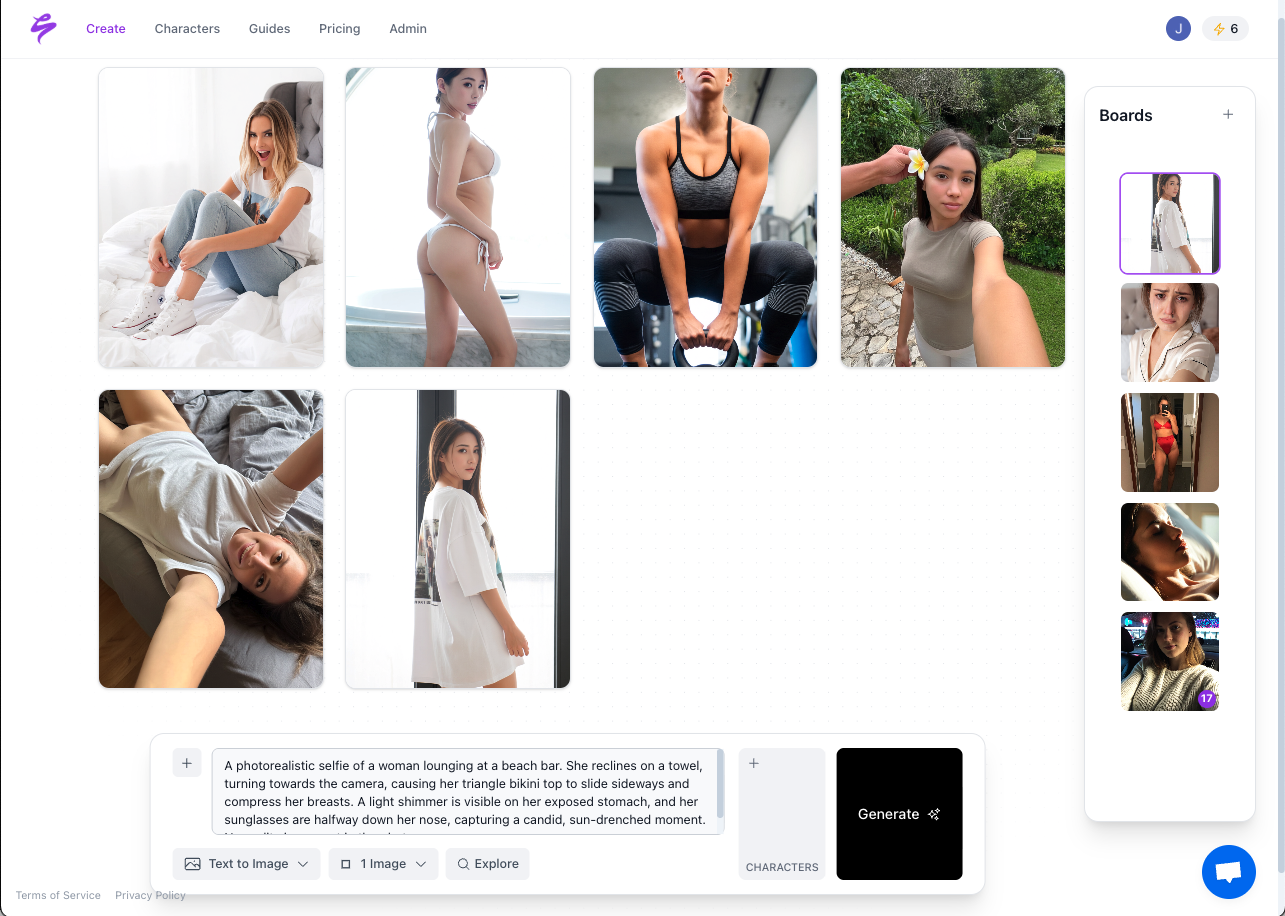
Simpler hand interactions also reduce risk. A stable palm, partial grip, or object resting on a surface produces more reliable results than crossed fingers, fast motion, or multiple hands sharing one product.
A focused negative prompt completes this prevention layer and drives the 70 % error reduction mentioned earlier. Use a concise list that covers “extra fingers, fused fingers, missing fingers, elongated fingers, distorted hands, extra limbs, missing limbs, disfigured, malformed, anatomically incorrect,” and keep it to fifteen terms or fewer so it does not interfere with intended anatomy.
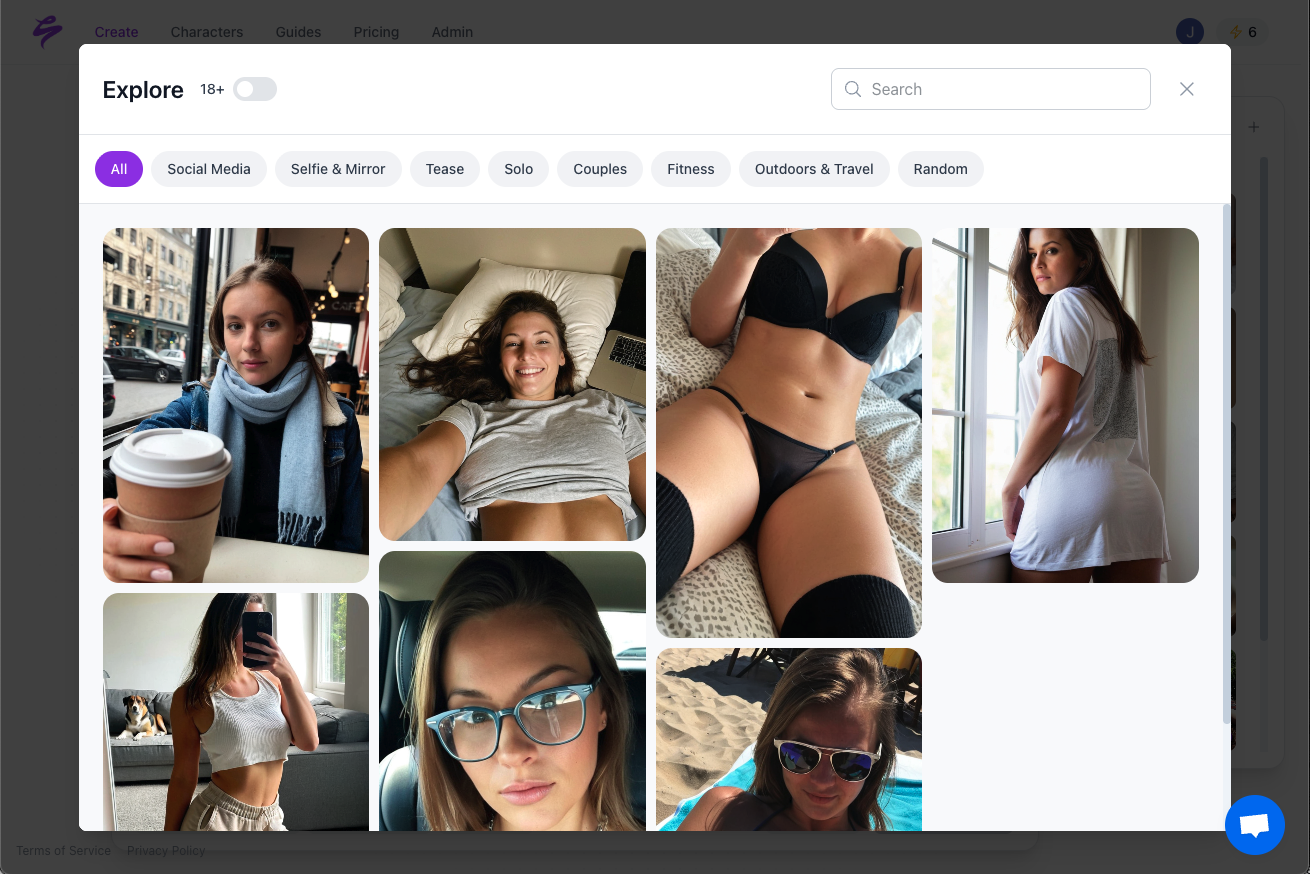
Because Sozee locks likeness across every frame, these prevention settings carry forward to every image in a Photo Shoot set. The same face, the same environment, the same outfit, and the same hand-safe prompt structure apply to all ten images in a set without re-entering a single parameter.
Repair Remaining Hand Issues with a Six-Step Inpainting Flow
Some hand errors still slip through, even with strong prevention. Sozee’s Refine suite handles those fixes with a six-step sequence that completes most hand repairs in under ten minutes.
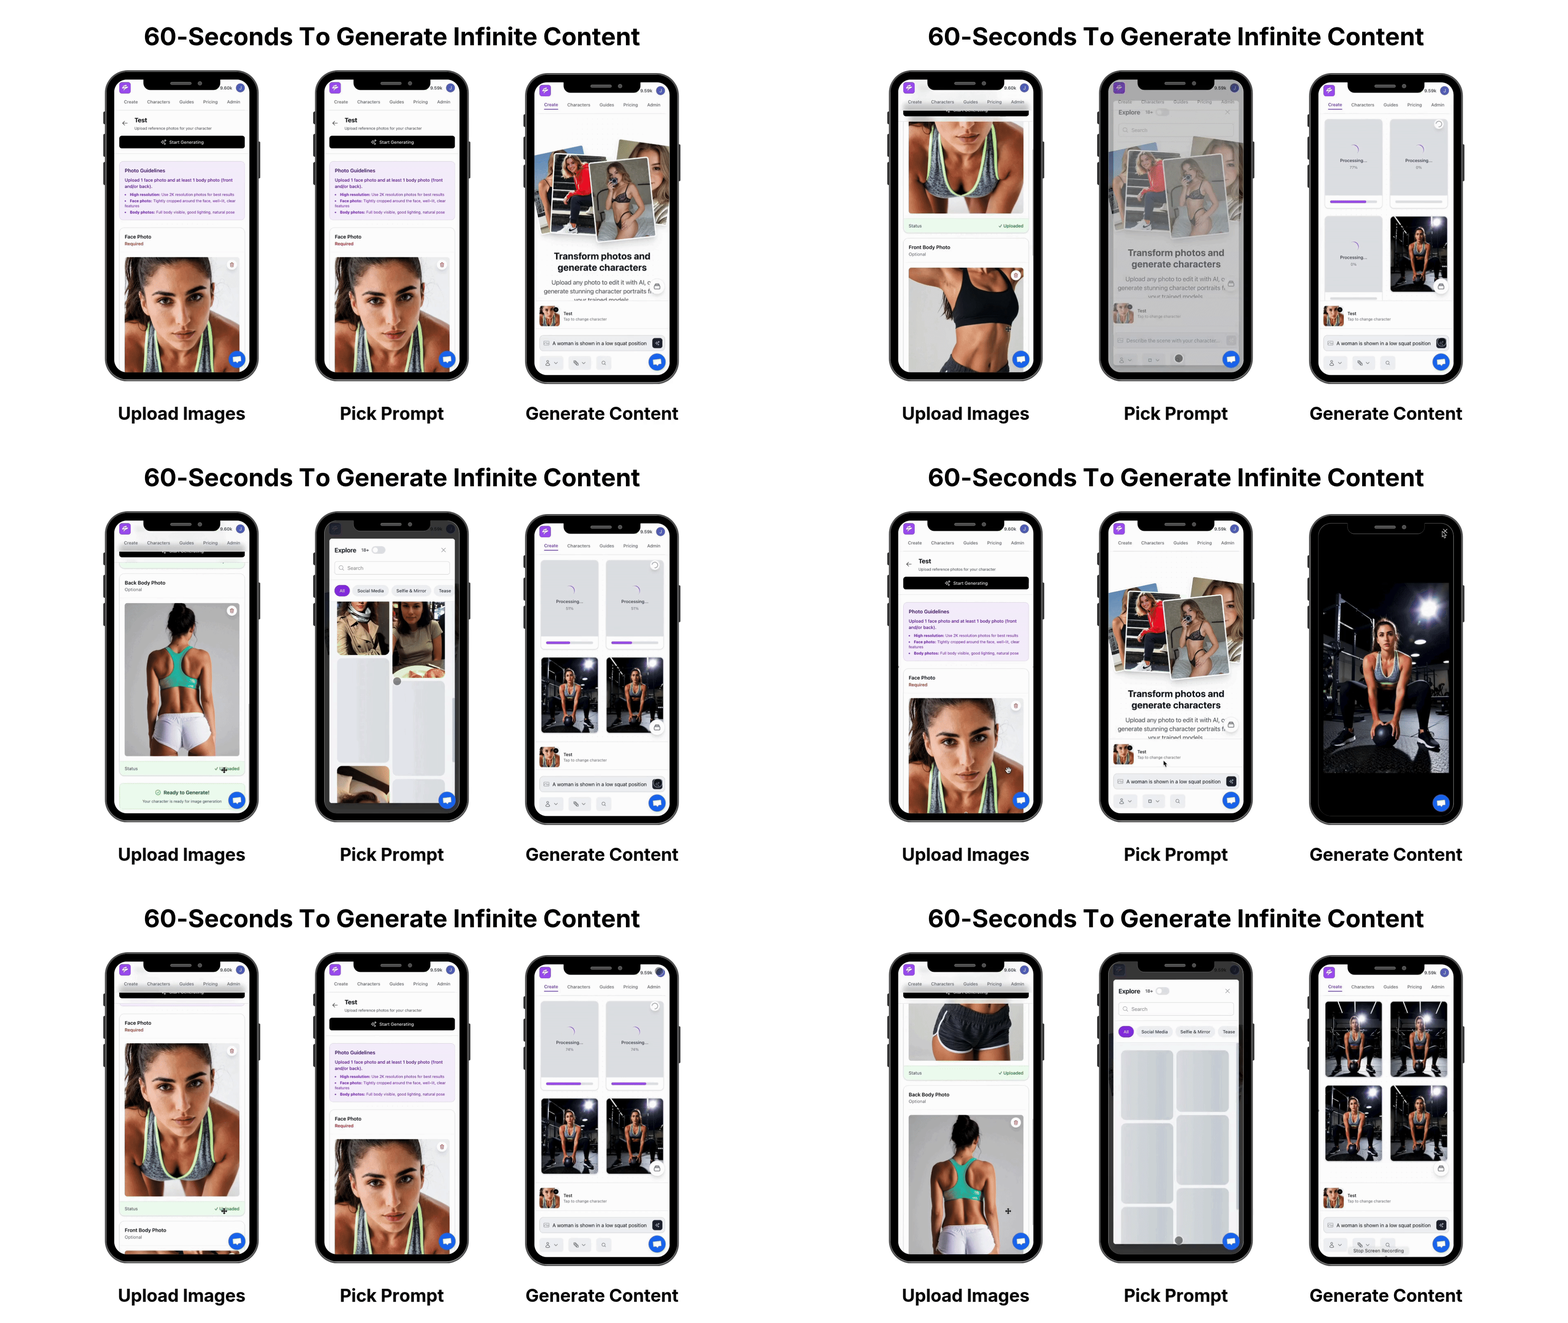
- Open the image in Refine. Navigate to the Refine suite from the Vault or directly after generation. The before/after slider stays available throughout the process so you can compare progress at each step.
- Brush a mask that extends slightly past the wrist. A mask that is too tight often produces a hand that does not connect properly to the arm, so include the wrist, some forearm, and a buffer zone around the hand. Apply 8–12 pixels of Gaussian blur on mask edges to create seamless transitions without visible seams or halos.
- Set denoise strength between 0.60 and 0.75. This range works best for AI hands in most production scenarios. Higher values provide more creative freedom but risk style mismatch, while lower values tend to preserve the original broken anatomy. For a minor tweak such as one stray finger, use 0.60. For a fully reconstructed hand, use 0.70–0.75.
- Attach a clean hand reference via the Object library or @mention. Sozee’s Object library stores reusable reference assets. Type @ in the prompt bar and attach the reference without leaving the sentence. This gives the model a structural target that matches your character’s skin tone and lighting.
- Add a short descriptive prompt that matches lighting and skin tone. A specific prompt such as “natural relaxed hand resting on the table, five fingers” outperforms vague instructions like “fix the hand.” Include lighting descriptors that match the original image, such as “soft studio lighting, warm skin tone,” so the repaired area does not drift away from the scene.
- Generate and compare with the original using the built-in before/after slider. Generate two to four variations and select the strongest result. If the first pass corrects the overall structure but one finger remains off, mask only the remaining problematic finger and apply a lower denoising strength of 0.3–0.4 for the refinement pass.
Start creating now — your first hand-perfect set is one session away →
When to Edit vs. Regenerate: Practical Decision Guide
The choice between inpainting and full regeneration depends on three factors: time available, the severity of the hand error, and campaign deadline pressure. Regenerating an entire image after a near-miss discards already successful elements such as composition, lighting, and character faces, while inpainting only the defective region preserves those elements. The table below maps common scenarios to recommended actions so you can see when inpainting saves time and when regeneration becomes more efficient.
| Situation | Severity | Time Cost | Recommended Action |
|---|---|---|---|
| 1–2 fingers slightly off; rest of image perfect | Low | 2–5 minutes per hand when successful | Inpaint with 0.60–0.70 denoise |
| Full hand is a blob; composition and face are locked | High | 15+ minutes if inpainting fails repeatedly | Inpaint at 0.75 with wrist-extended mask, then regenerate only if three passes fail |
| Multiple broken areas across the image; campaign deadline today | Critical | Compounding inpaint passes exceed regeneration time | Regenerate with corrected Photo Control settings and a stronger negative prompt |
| Early composition selection; no locked elements yet | Any | Low-cost candidates at small size and fewer steps | Regenerate, because inpainting works best after the structure is locked |
Common Pitfalls When Fixing AI Generated Hands
Three recurring mistakes cause most failed inpainting attempts in 2026 workflows.
Mask too tight. Masking only the fingers creates weird discontinuities at the boundaries because the model lacks enough context to blend the repair naturally. To prevent this, follow the mask sizing from Step 2 and include the wrist, some forearm, and a margin around the hand so the model can match skin tone and lighting. For small detail work on a single finger, zoom in before painting the mask so your brush covers the exact area without spilling into correctly rendered regions.
Mismatched lighting in the prompt. Effective repair prompts describe the physical relationship, such as which fingers are visible, where the thumb rests, and applied pressure, and they explicitly list all elements that must remain unchanged, including wrist angle, skin tone, lighting, and depth of field. Omitting lighting descriptors remains the most common cause of a repaired hand that looks composited rather than native.
Over-aggressive denoise. Denoising strength values above 0.7 risk shifting lighting, skin tone, and overall consistency away from the original image. Start at 0.65 for a first pass, then increase to 0.75 only if the anatomy is still broken. Remember the 8–12 pixel feathering from Step 2, because skipping this blur is what causes the hard edges many creators struggle with.
Results You Can Expect from This Workflow
Creators who apply this prevention-first workflow often report higher content output and fewer hand errors in final published posts. This prevention-first approach is what drives the 70 % error reduction mentioned earlier.
The compounding effect of Sozee’s reusable asset system accelerates results further. Every Object, Setting, and Outfit you build once stays available for every future shoot, so the hand-safe prompt structure that worked in week one already powers week four’s sessions.
The next scaling step is Photo Shoot mode, which takes a single hand-verified image and builds a coherent set of up to ten around it. Identity, outfit, and environment stay locked, while angle, pose, and expression vary across the set. A month of carousel content can emerge from one verified frame.
From there, the Scheduler connects directly to Instagram, TikTok, X, and Fanvue. A single afternoon’s output turns into a fully scheduled posting calendar without extra anatomy fixes blocking the queue.
Frequently Asked Questions
What is the correct mask size when fixing AI-generated hands?
Follow the mask sizing in Step 2. Cover the entire hand, extend past the wrist to include some forearm, and include a margin of roughly 20–30 pixels around the hand’s outer edge. Apply soft feathering of 8–12 pixels at the mask boundary so the repaired area blends into the surrounding skin tone and lighting naturally.
What denoise strength range works best for AI hand inpainting?
Use 0.60–0.75 for most repairs and see Step 3 above for the full rationale. Stay near 0.60 for minor tweaks to one or two fingers. Move to 0.70–0.75 when the entire hand needs reconstruction, and drop to 0.30–0.40 for a second refinement pass that targets a single remaining finger.
How do I maintain skin-tone consistency after inpainting a hand?
Include explicit skin-tone and lighting descriptors in the inpainting prompt, such as “warm medium skin tone, soft diffused studio lighting, matching the forearm,” instead of relying on the model to infer them from context. In Sozee Refine, attaching a clean reference image of the character’s hand via the Object library or @mention gives the model a direct color and texture target. Avoid over-aggressive denoise values, which are the primary cause of skin-tone drift after inpainting.
When should I use a reference image versus prompting alone?
Use a reference image when the hand must match a specific skin tone, nail style, ring, or prop interaction that text cannot describe precisely. Reference images work especially well for recurring characters in Sozee, where the Object library stores the reference permanently and makes it available for every future session via @mention. Prompt-only inpainting works for simple corrections such as a single misaligned finger on a plain background, where the surrounding context already guides the model.
Can this workflow run on mobile?
Yes. Sozee’s Photo Control panel, Refine suite, and Agent are available on desktop, iPad, and mobile. The Agent helps most on mobile, because you can describe the shoot idea conversationally and it fills the Photo Control panel and prompt bar automatically, so the five prevention dimensions stay set correctly without manual input on a small screen. Inpainting mask painting on mobile benefits from zooming in before brushing so you cover small areas like individual fingers accurately.
Conclusion: Scale Your Content Without Hand Headaches
Distorted AI hands are a solved problem in 2026 for creators who apply a two-stage approach. Locking Sozee’s five Photo Control dimensions before generation, combined with concrete action prompts and a focused negative prompt list, eliminates roughly 70 % of hand errors before they occur.
For the remaining issues, a six-step Refine inpainting sequence with a 0.60–0.75 denoise range, a wrist-extended mask, and a lighting-matched prompt resolves most problems in under ten minutes without touching the rest of the image.
The result is a posting cadence that does not stall on anatomy fixes, a reusable asset library that makes every future shoot faster, and a locked likeness that holds across every frame in every set.
Go viral today — build your first hand-perfect shoot in Sozee →