Key Takeaways for Fast, Photorealistic Local Workflows
- Stable Diffusion lets you generate photorealistic images locally with Automatic1111 or ComfyUI, an 8 GB+ VRAM GPU, and checkpoints like Juggernaut XL v10.
- Clear prompt structure, targeted negative prompts, and tuned settings such as DPM++ samplers and low CFG scales produce camera-quality images without visible artifacts.
- Hires Fix upscaling plus inpainting delivers high-resolution images and fixes common anatomy issues like hands and eyes in under 15 minutes for a 10-image set.
- Local workflows hit hardware limits on batch size, LoRA training, and video generation, which makes large-scale production difficult without extra resources.
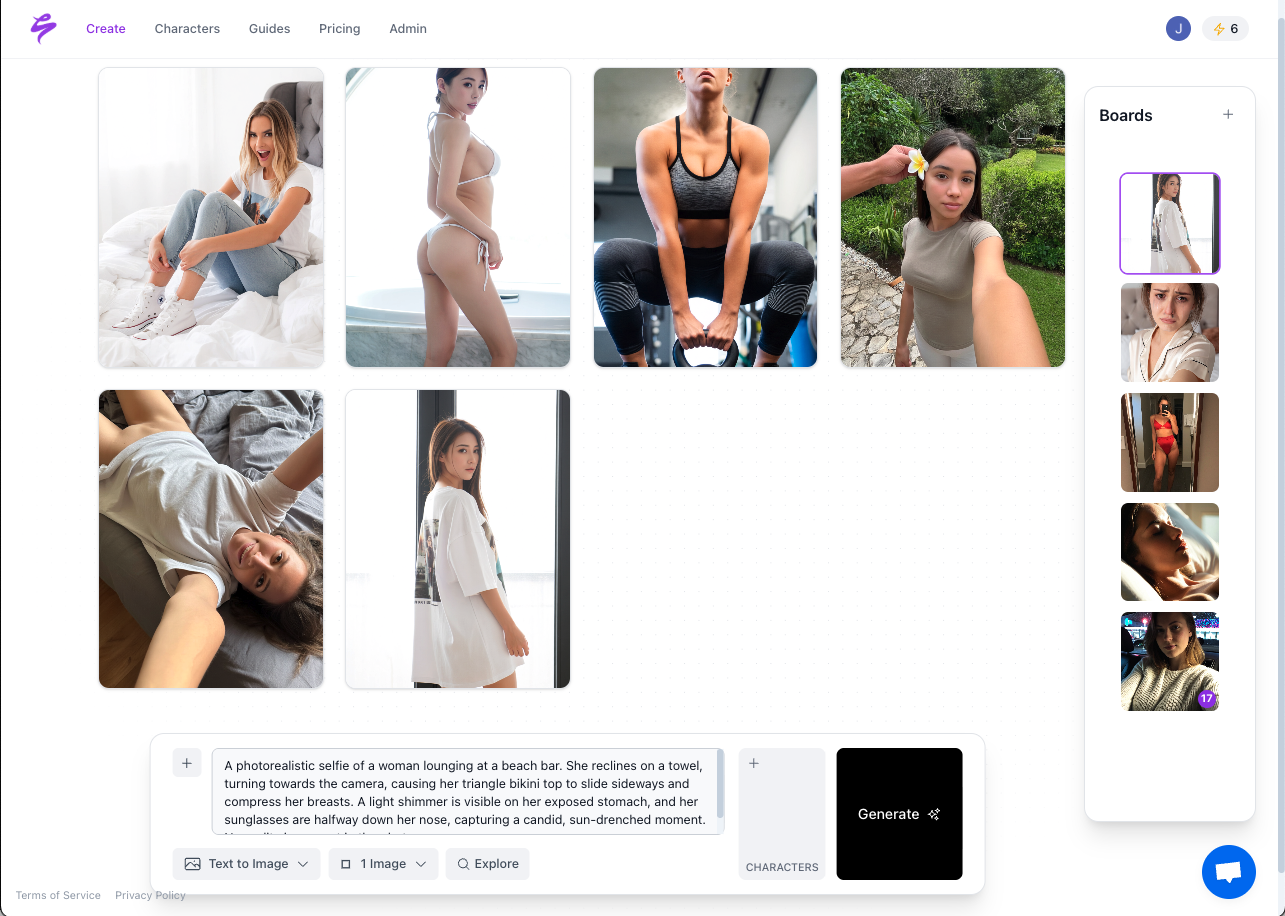
- Sozee removes these scaling limits and centralizes likeness creation, generation, inpainting, scheduling, and analytics in one platform, so you can start now.
Step 1: Install 2026’s Most Reliable Photorealism Checkpoints
Juggernaut XL v10 is the 2026 gold standard for SDXL photorealism. It delivers strong skin texture, natural lighting, believable environments, and stable anatomy across portraits, street shots, cinematic scenes, and product images. Download the .safetensors file, place it in models/Stable-diffusion/, and name it juggernautXL_v10.safetensors so you can find it instantly.
RealVisXL V5.0 focuses on realistic humans. It excels at faces, eyes, and clothing texture for portraits that can fool casual viewers, but it struggles with fantasy or stylized content. Save it as realvisXL_v50.safetensors. On SD 1.5 hardware with only 4–6 GB VRAM, Realistic Vision V6.0 remains the leading photorealistic option and offers strong quality per compute dollar with broad LoRA support.
Common Pitfall: Skipping the VAE bakes a washed-out, low-contrast look into every image. Download vae-ft-mse-840000-ema-pruned.safetensors from Civitai, place it in models/VAE/, and select it in Settings → VAE before you generate anything.
Pro Tip: Save a reusable style bundle that includes checkpoint, VAE, sampler, and seed as a named preset in Automatic1111. One click restores your full photorealism stack for every new session.
Step 2: Use a Structured Prompt Layout for Photorealism
SDXL models respond best to structured tag-style prompts that follow this order: subject, details, setting, lighting, style, and quality boosters. Place the subject and camera description early, because Stable Diffusion processes approximately 75 tokens and truncates longer descriptions, so descriptors that appear late often never influence the image.
Use this positive prompt template for a photorealistic portrait:
close-up portrait of a woman in her late 20s, natural freckles, sharp eyes, soft smile, outdoor café setting, golden hour lighting, shot on Sony A7R V, 85mm f/1.4, shallow depth of field, bokeh background, photorealistic, 8k uhd, sharp focus, professional photography, detailed skin texture
Camera and technical details such as 85mm lens, f/1.8, shallow depth of field, and bokeh work best near the end of the positive prompt. This placement controls photographic realism while keeping subject descriptors safe from truncation.
Common Pitfall: Stacking buzzwords like “masterpiece, ultra-detailed, 8K, hyper-realistic” at the front wastes token budget and blurs subject clarity. EpicRealism is fine-tuned for strong results from simple descriptive prompts and gains nothing from heavy quality keyword stacking.
Pro Tip: Generate a batch of four images for each prompt variation and export the best two as a teaser pack for social. Batch generation with a fixed seed range lets you A/B test lighting phrases while keeping the rest of the prompt stable.
Step 3: Build Three-Layer Negative Prompts for Clean Results
A structured negative prompt for photorealistic headshots uses three layers, and each layer targets a different failure mode. The first layer blocks technical artifacts that break the illusion of a real photo: lowres, blurry, jpeg artifacts, watermark, text, signature. The second layer prevents the model from drifting into non-photographic styles: cgi, render, cartoon, painting, illustration, anime, 3d render. The third layer addresses anatomy and skin issues that reveal AI generation: deformed eyes, asymmetrical eyes, extra fingers, fused fingers, malformed hands, missing fingers, extra limbs, disfigured, bad anatomy, plastic skin, waxy skin, airbrushed, overly smooth skin, doll-like, mannequin.
Targeted negatives reduce the number of iterations needed to reach your visual goal. Broad terms like “bad” rarely help, while specific phrases improve fidelity and artifact removal.
Common Pitfall: Using too many weighted terms causes concept confusion and produces flat, stiff images. Keep the list between 15 and 40 words.
Pro Tip: Use modest weights such as (deformed hands:1.2) or (plastic skin:1.3) to increase sampler influence without stacking near-duplicate terms. Weights above 1.8 frequently cause problems in Stable Diffusion prompts.
Step 4: Apply Generation Settings That Avoid Common SDXL Failures
The settings below are validated for Juggernaut XL v10 and RealVisXL V5.0 in Automatic1111 or ComfyUI as of mid-2026. These values reduce oversaturated skin, duplicated limbs, and washed-out contrast while keeping generation time under two minutes per image.
Sampler: DPM++ 2M Karras for portraits and general use, or DPM++ SDE Karras for maximum skin detail. DPM++ samplers, especially SDE variants, often introduce artifacts for SDXL at fewer than 50 steps and can perform worse than Euler’s method.
Steps: 30–40 for SDXL models. CFG Scale: 3–5 for maximum photorealism on Juggernaut XL, and 6 for RealVisXL V5.0 to balance prompt adherence. Lower CFG values between 3 and 5 usually produce more natural skin tones in Juggernaut XL.
Resolution: 832×1216 for portraits or 896×1152 for fashion and full-body SDXL shots. Generating Stable Diffusion images at resolutions such as 512×1024 or higher without Hires Fix often causes duplicated heads or extra limbs. For SD 1.5 with Realistic Vision V6.0, use 512×768 for portraits and 768×512 for landscape crops.
Common Pitfall: Setting CFG above 9 on SDXL photorealism models produces oversaturated, distorted skin tones. High CFG values force tighter prompt adherence but often create harsh, distorted images. Stay within the 3–7 range for sellable output.
Step 5: Use Hires Fix and Upscaling for Final Detail
Hires Fix refines low-resolution generations into sharp, high-resolution images without breaking composition. Enable Hires Fix in the txt2img tab, select R-ESRGAN 4x+ or Latent (nearest-exact) as the upscaler, set denoising strength to 0.35–0.45, and choose an upscale factor of 1.5×–2×. Run 15–20 hires steps. Generating at low resolution and then using Hires Fix to upscale and resample usually produces better quality than direct high-resolution generation.
For final export quality, send the upscaled output through 4x-UltraSharp in the Extras tab at 1× scale. This pass sharpens pores, hair strands, and fabric texture without introducing new resolution artifacts.
Common Pitfall: Denoising above 0.55 in Hires Fix regenerates the composition instead of refining it and often destroys the original pose and expression.
Pro Tip: Lock the seed during Hires Fix A/B tests and change only the denoising value between runs. This approach isolates how much refinement each strength level adds to skin texture and edge sharpness. If managing these technical variables feels like a bottleneck, Sozee handles upscaling and refinement automatically so you can start creating now without manual tuning.
Step 6: Clean Up Anatomy with Targeted Inpainting
Hands, eyes, and teeth remain the most persistent failure points in 2026 photorealistic generation. Even in 2026, Stable Diffusion models struggle with deformed hands, and recommended mitigations include generating multiple variations and inpainting hands rather than relying on the base model. Once you finish upscaling, inpainting becomes the fastest way to fix these localized issues.
In Automatic1111’s img2img inpainting tab, upload the generated image and use the mask brush only on the problem area. Set resolution to 512×512, which is the scale the model uses for the masked region regardless of full image size. Set denoising to 0.70–0.80 for hands and 0.50–0.60 for eyes, then run 30 steps with the same sampler used during generation. Repeat until the anatomy looks clean and natural.
Common Pitfall: Masking too large an area forces the model to regenerate surrounding skin and often creates visible seams. Mask only the specific deformed region and use a 2–4 pixel feather.
Pro Tip: Save a reusable inpainting preset that includes model, sampler, steps, and denoising as a named workflow in ComfyUI. One-click application across a batch of images cuts anatomy correction time by more than half.
Success Metric: Deliver a 10-Image Set in Under 15 Minutes
A tuned local workflow should produce a 10-image set with varied expressions, two lighting setups, and one wardrobe in under 15 minutes. The set should be ready for social or paid placement and free of visible AI artifacts. Steps 1–4 take about eight minutes for batch generation. Hires Fix adds three to four minutes. Inpainting anatomy issues on one or two images adds another two to three minutes. That timing represents the practical ceiling for a well-optimized local setup on a 12 GB GPU.
Advanced Scaling: Move Beyond Local Hardware Limits
Once the six-step workflow runs reliably, three extensions unlock higher production volume. First, train a private LoRA on 15–25 curated images of a subject to lock consistent likeness across poses and outfits. ControlNet, LoRAs, or embeddings remain necessary for consistent character appearance across different poses because base checkpoints alone cannot repeat subjects reliably. Second, chain text-to-video nodes in ComfyUI to turn still portraits into short motion clips for Reels and TikTok. Third, build SFW-to-NSFW funnel packs by generating a teaser set in one style bundle and a premium set in a second, while keeping both brand-consistent through shared LoRA weights.
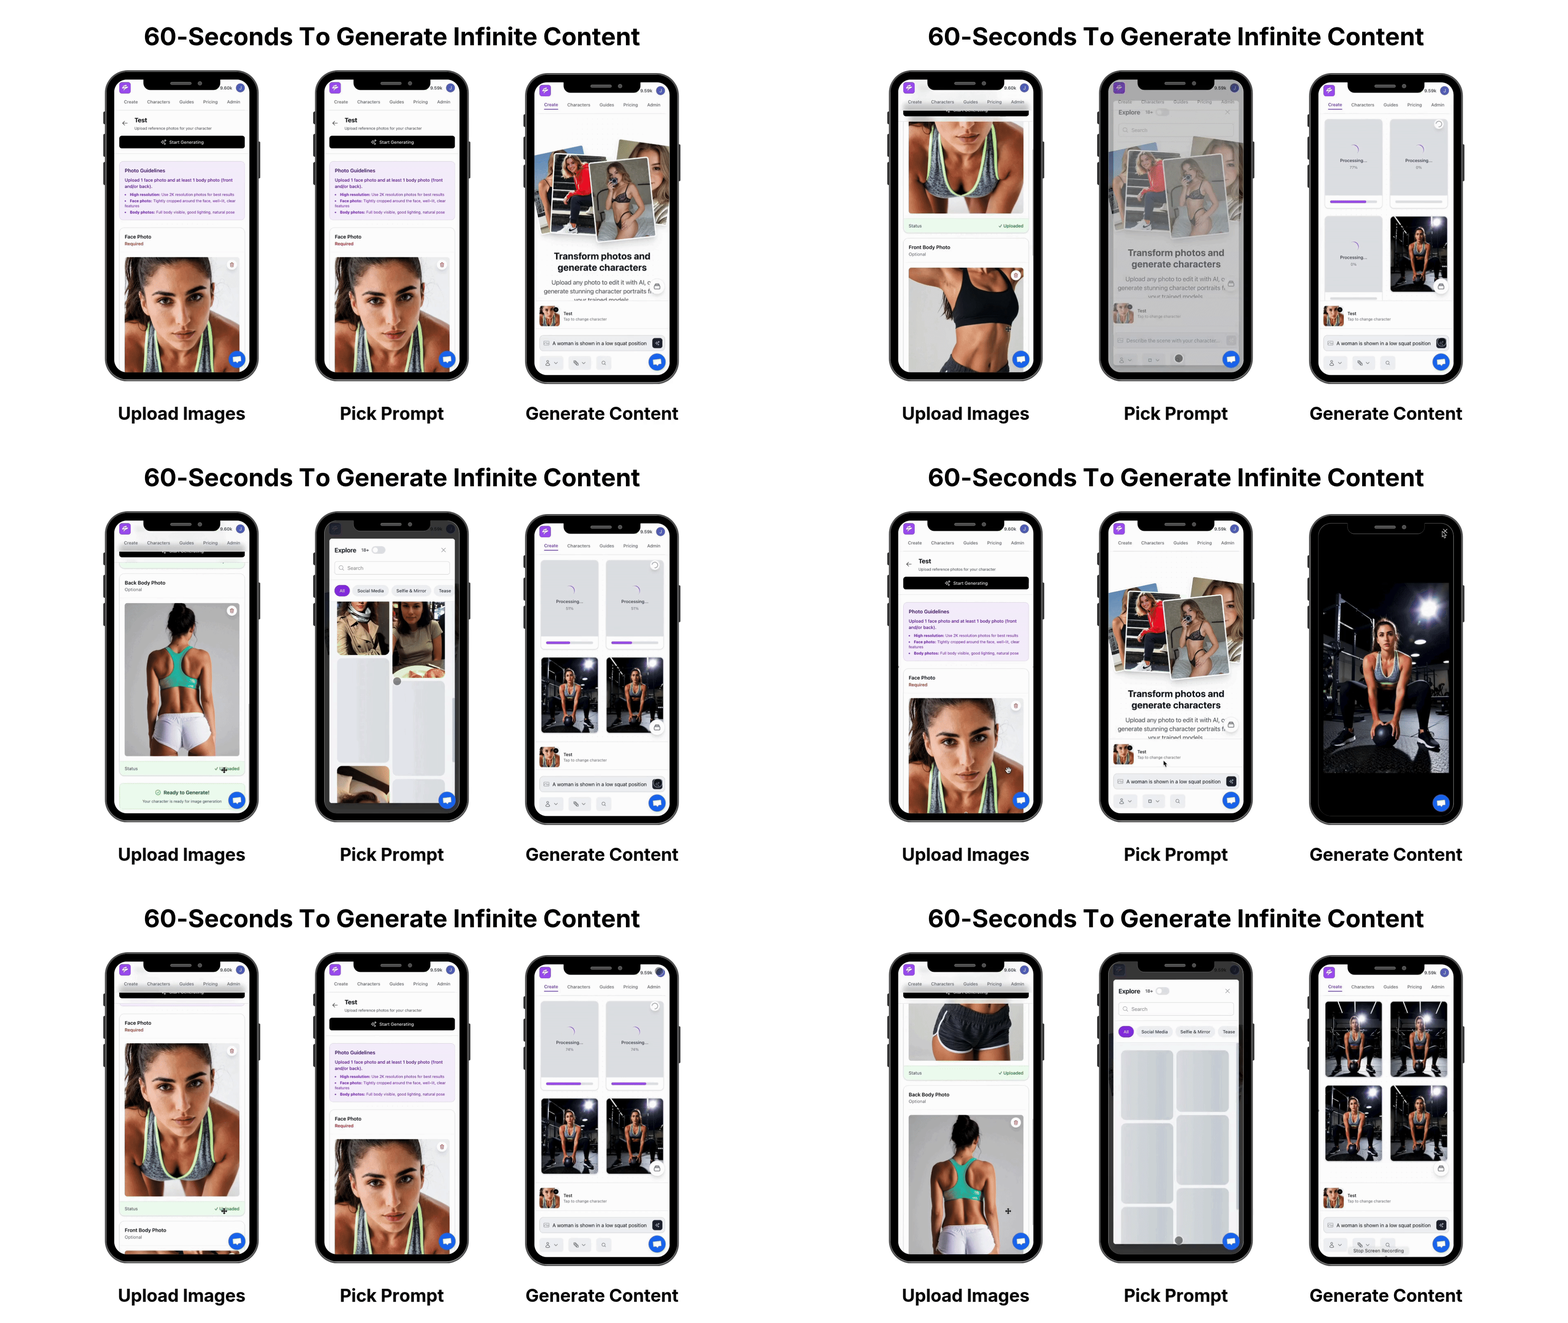
Local VRAM and batch throughput create a hard ceiling for this strategy. Training LoRAs on an 8 GB card takes hours. Batching 50 images overnight ties up the machine. Chaining video generation requires significant VRAM. Sozee removes these constraints by handling likeness recreation from three photos or from scratch, unlimited generation, inpainting, scheduling, and analytics in one platform with no hardware requirement.
Frequently Asked Questions
Which Stable Diffusion models are best for photorealism in 2026?
Juggernaut XL v10 is the most widely recommended SDXL checkpoint for photorealism. It covers portraits, cinematic scenes, and product shots with strong skin texture and anatomy. RealVisXL V5.0 is the top choice when the subject is exclusively human, because faces, eyes, and clothing texture are its strengths. For hardware limited to 4–6 GB VRAM, Realistic Vision V6.0 on SD 1.5 delivers the best output-per-compute ratio. Flux 2 and SD 3.5 Large push fidelity further but require 12–24 GB VRAM and a different prompting style. EpicRealism suits creators who want clean results from simple, natural-language descriptions without quality keyword stacking.
What hardware do I need to run these workflows locally?
SDXL models such as Juggernaut XL v10 and RealVisXL V5.0 need at least 8 GB VRAM to load. A 12 GB card works more comfortably with extensions like ControlNet and Hires Fix. Cards with 6 GB or less encounter frequent out-of-memory errors on SDXL and should use SD 1.5 models like Realistic Vision V6.0, which runs on 4–6 GB. Flux 2 and SD 3.5 Large require even higher VRAM. A system with 16 GB or more RAM and an NVMe SSD for model loading forms a practical minimum for a smooth workflow.
Can I sell images created with Stable Diffusion commercially?
Licensing depends on the specific model and its terms on Civitai or the model card. Most community checkpoints built on SDXL or SD 1.5 allow commercial use of generated outputs, although some restrict adult content or require attribution. Always read the model’s license before monetizing. Sozee operates under its own commercial terms that support creator monetization workflows, which removes the need to audit individual checkpoint licenses for every content drop.
How do I maintain consistent likeness across weekly content drops?
Consistent likeness requires more than a base checkpoint. Train a private LoRA on 15–25 curated reference images of the subject, then load that LoRA alongside the base checkpoint at a weight of 0.6–0.8 for each session. Save the full style bundle that includes checkpoint, VAE, LoRA, sampler, and seed range as a named preset in Automatic1111 or ComfyUI so every weekly batch starts from the same foundation. Sozee replicates likeness from as few as three photos with no training time, which turns weekly consistency into a platform feature instead of a manual process.
What are the current inpainting ethics and best practices?
Inpainting on images of real people should only occur when you have explicit, documented consent. Inpainting on AI-generated characters with no real-world likeness remains unrestricted. Best practice is to mask the smallest possible area, use feathering to blend edges, and keep denoising low enough that the surrounding image stays unchanged. Platforms such as OnlyFans, Fansly, and Instagram maintain their own content policies for inpainted or AI-generated content, so review each platform’s terms before publishing.
How long can prompts be before quality drops?
Stable Diffusion processes approximately 75 tokens per prompt pass and truncates content beyond that limit, which means descriptors placed after the 75-token mark are often ignored. Given this limit, front-load subject, lighting, and camera specification in the first 40–50 tokens and place style and quality boosters in the remaining space. The BREAK keyword in Automatic1111 separates prompt concepts into distinct conditioning chunks and allows longer structured prompts with less truncation loss. Flux models handle natural-language descriptions more gracefully but still benefit from concise, scene-focused writing instead of exhaustive keyword lists.
Conclusion: Turn a Local Workflow into a Scalable Content Engine
The six-step workflow of checkpoint installation, prompt architecture, targeted negative prompts, tuned settings, Hires Fix upscaling, and inpainting produces a sellable 10-image set in under 15 minutes on current consumer hardware. That capability did not exist at this quality level two years ago. The ceiling still exists, because VRAM limits batch size, LoRA training takes hours, and video generation needs hardware that most creators do not own.
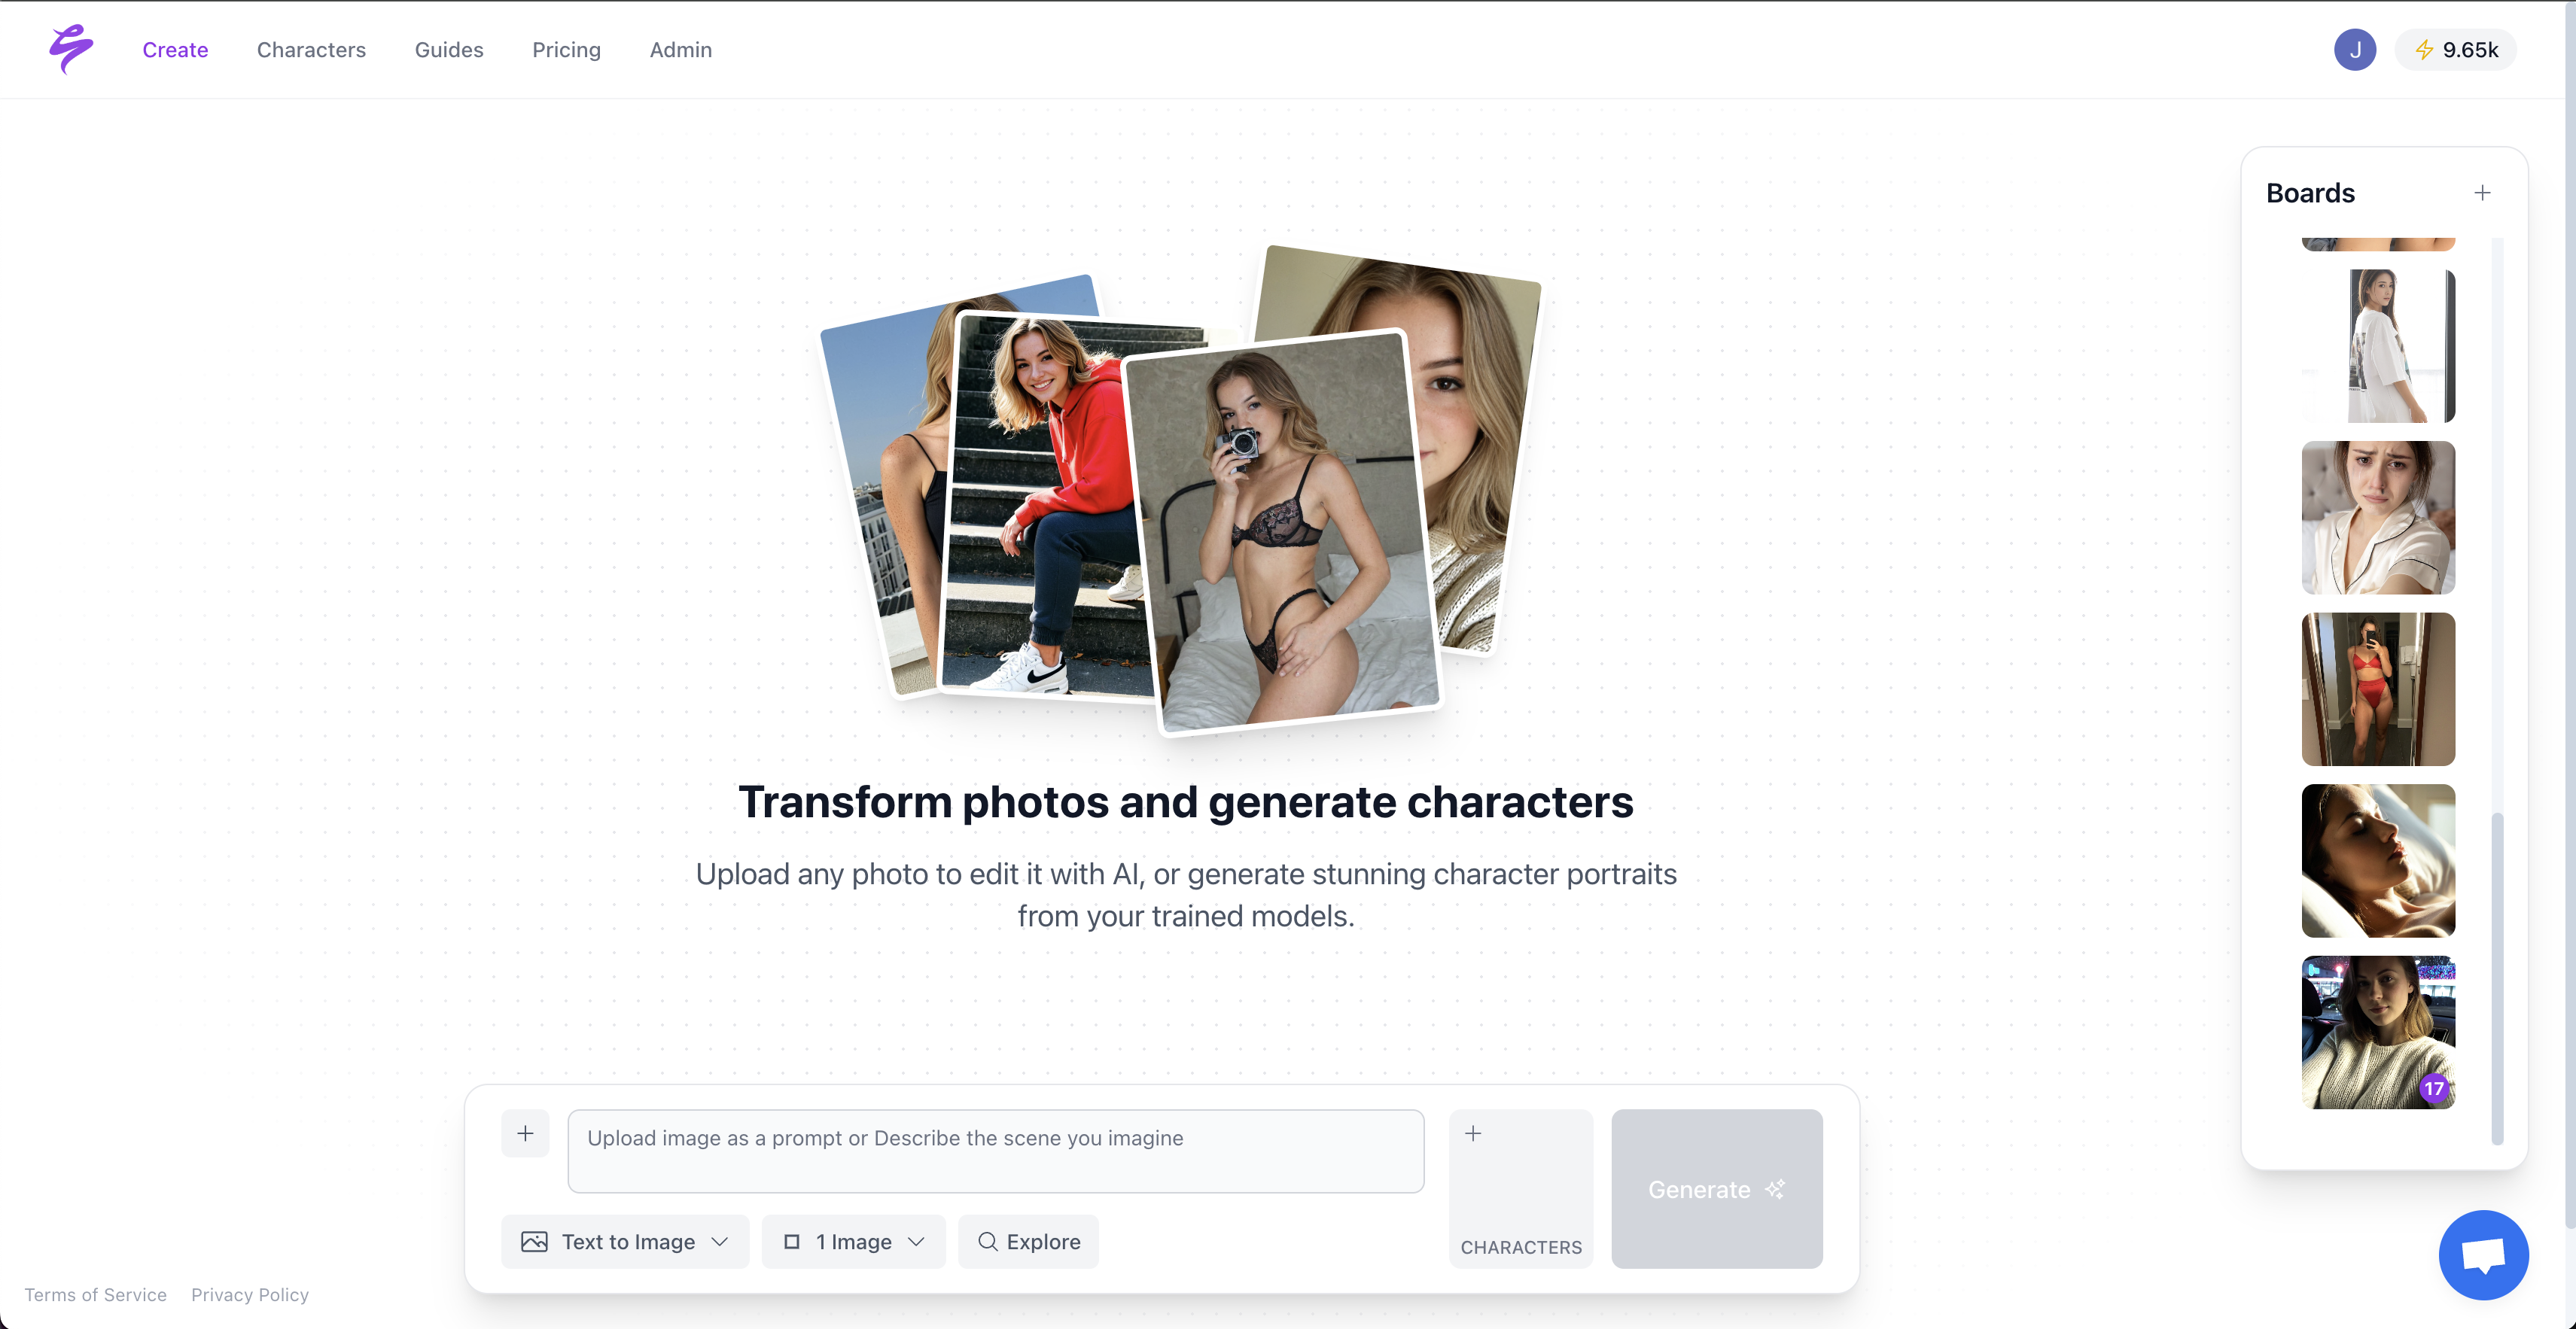
Sozee removes those remaining barriers. Upload three photos and the platform reconstructs a hyper-realistic likeness instantly. Generate unlimited photos and videos, refine with inpainting, schedule across every platform, and track analytics that show exactly what drives revenue, all from a single dashboard. For agencies, virtual influencer builders, and creators who need a month of content in an afternoon, the local workflow proves what is possible. Sozee becomes the production engine.
Start creating photorealistic AI content at scale and get started on Sozee today.