Key Takeaways for 2026 Creator 3D Workflows
- AI 3D generation cuts production costs and time for creators, but most outputs still need cleanup and editing before social or OnlyFans use.
- A repeatable 7-step workflow of scene planning, tool selection, Blender cleanup, lighting, camera animation, AI video enhancement, and consistency management connects fast AI generation with high-engagement video content.
- Top 2026 tools like Rodin, Meshy, and Tripo3D each excel in different areas, and paid plans deliver the consistency and commercial rights needed for monetizable output.
- Visual consistency across shots comes from saving reusable Blender templates and style bundles, then feeding final clips into Sozee for scheduling and analytics.
- Sozee turns 3D assets into scheduled, monetized content. Sign up today to build and publish your first scene in one afternoon.
Step 1: Plan Your Scene with Mood Boards and Reference Photos
Every photorealistic 3D scene starts with a reference set, not a prompt, because AI generators drift when they rely only on text. Collect 8–12 reference images that define lighting direction, color temperature, surface materials, and spatial depth. These images give the model clear visual constraints and reduce random geometry or lighting. Organize them into a mood board segmented by foreground, midground, and background elements so the AI can infer depth and spatial relationships. High-resolution source material with clear foreground, midground, and background separation provides the spatial depth cues needed for believable parallax and motion in AI-generated video.
Write prompts that lock in style, material type, and lighting condition in the first clause to keep results predictable. Vague prompts often create messy topology and baked-in shadows that break photorealism later in the pipeline. An effective text-to-3D prompting framework specifies the object and its intended purpose, adds explicit style constraints such as realistic or hard-surface, sets geometry boundaries to control complexity, and iterates in short loops of 2–4 variants with small edits.
Step 2: Pick the Right 2026 AI Text/Image-to-3D Generator for Your Use Case
This comparison table shows how leading AI 3D tools stack up on price, photorealism, and export options so you can match a platform to your budget and output needs. All pricing and quality notes come from current platform documentation and independent testing.
Rodin is best for geometry detail and surface displacement, making it suitable for hero assets and static renders, while Meshy excels at generating production-ready PBR maps and Tripo prioritizes speed for background props. For weekly pipelines, paid plans are recommended over free tiers because they provide higher throughput, consistency, and predictability.
Step 3: Clean AI Meshes in Blender and Set Up Realistic Lighting
Most AI 3D generators output decimated meshes of 500,000 disconnected triangles that fail to deform correctly during animation and are unusable for video content without cleanup. Import the mesh into Blender 4.2+ and run QuadRemesher or Blender’s native Remesh modifier to convert triangulated geometry into clean quads. Rebuild UV maps manually or with Smart UV Project, because AI auto-UVs are fragmented and impossible to edit for consistent video rendering.
Use lighting that combines realism with control. Combining HDRI for rich reflections and sky realism with a physical sun for precise shadow direction and softness produces more believable results than either method alone. Build a clear lighting hierarchy with a dominant key light, controlled global illumination fill, and motivated accent lights. Bad AI generators bake shadows and highlights directly into the albedo texture map, causing objects to appear incorrectly lit when placed in new scenes, so confirm that your tool outputs separate Normal, Roughness, and Metallic PBR maps before a large generation run.
Step 4: Animate the Camera and Render Clay Passes for Stable Motion
Camera choices control how real your scene feels. Recommended focal lengths for natural-looking scenes are 24–35 mm equivalents, with 50–85 mm reserved for detail shots. Keep the camera level and use lens shift to avoid converging verticals. Choose restrained camera movements such as slow dolly-in, lateral pan, or subtle push-in, and generate 3-to-6-second test clips first to review geometry stability, reflection behavior, and lighting continuity.
Export a clay-render pass with flat diffuse and no textures alongside the beauty render. This pass gives AI video enhancers a clean structural reference that reduces warping during motion synthesis. Depth of field is best added in post using Z-depth passes for maximum flexibility rather than baked directly into the render.
Step 5: Export Image Sequences and Enhance Them with AI Video Tools
Export image sequences as PNG at 2K or 4K resolution with a consistent frame rate of 24 or 30 fps. Feed these sequences into Luma Dream Machine, Kling VIDEO 3.0 Omni, or Runway Gen-3 for final motion polish. Each tool accepts image sequences or still frames as input and applies temporal coherence to produce smooth, photorealistic motion.
Kling VIDEO 3.0 Omni’s AI Director feature generates sequences containing up to six distinct shots in one 15-second pass while automatically handling cinematic transitions, which makes it particularly efficient for social-format content. This efficiency matters because AI render-to-video workflows are best suited for short, persuasive clips such as concept presentations, social reels, and website hero sections, and these formats map directly to the content that drives OnlyFans PPV and social platform engagement.
Step 6: Keep Visual Style Consistent Across Shots and Scenes
Visual consistency separates professional AI content pipelines from casual experiments. Generating images using trained style or character models before converting them to 3D maintains visual consistency across the entire asset pipeline. For multi-view accuracy, select Hunyuan 3.0 MultiView or Tripo 2.5 Multiview when multiple angles are available to ensure geometric symmetry.
Kling VIDEO 3.0 Omni’s Elements 3.0 feature enables character consistency across multiple shots by allowing creators to upload video clips as references rather than static images, analyzing 3D structure and motion data to create a robust digital replica that keeps facial features, clothing, and style constant across different camera angles. Once you have a look you want to repeat, save your HDRI, lighting rig, camera focal length, and seed values as a reusable Blender template so you preserve the technical recipe. Inside Sozee, save these settings as style bundles, which act as reusable brand looks that apply the same visual identity to every new content set without manual reconfiguration.
Step 7: Export Final Clips and Turn Them into Teaser Packs in Sozee
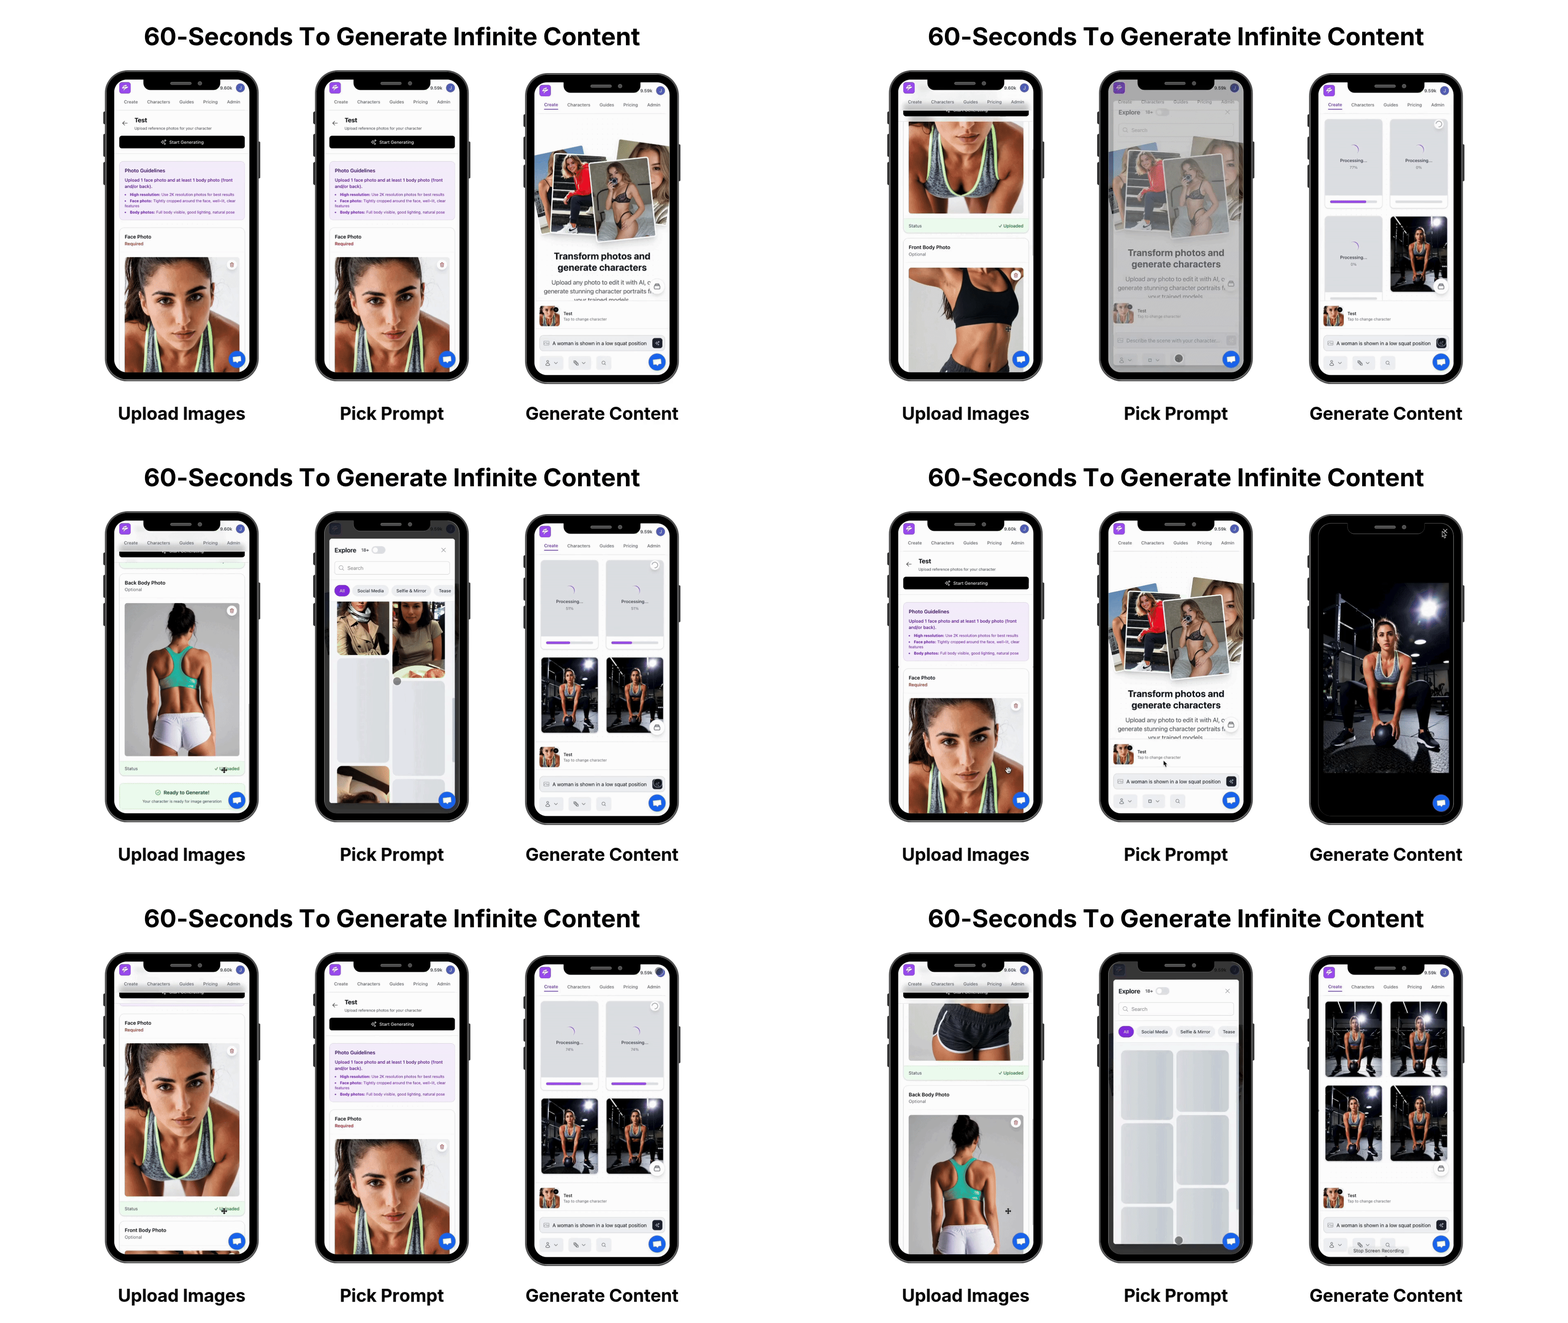
Export final clips as H.264 or H.265 MP4 at platform-native resolutions. Use 9:16 for TikTok, Instagram Reels, and OnlyFans, and 16:9 for YouTube. Inside Sozee, use the teaser-pack workflow to generate SFW preview clips from NSFW sets, which creates a complete funnel from social discovery to paid content without leaving the platform.
Sozee’s native scheduling and analytics layer closes the loop by turning finished clips into a measurable content system. Publish across TikTok, Instagram, X, OnlyFans, Fansly, and FanVue from a single dashboard, then track engagement, follows, and PPV conversion to see which scenes and styles drive revenue. Creators who run this workflow consistently report 20 or more unique assets per week and clear reductions in per-asset production cost.
Start creating now and build your first scene, then schedule it in one afternoon.
Turn Real-World Locations into 3D with Gaussian Splatting
Smartphone capture plus Gaussian Splatting lets you recreate real locations as fast 3D backdrops. For hyper-specific environments such as a real apartment, a branded retail space, or a location-specific fantasy setting, smartphone capture combined with Luma AI’s NeRF and 3D Gaussian Splatting pipeline converts multi-angle smartphone video into a navigable 3D environment in 15–60 seconds. Walk around the space, capture 60–120 frames from varied angles, upload to Luma AI, and receive a photorealistic splat file.
Import the splat into Blender as a background plate or reference, then composite AI-generated characters and props into the scene. Luma AI outputs typically require retopology before use in animation pipelines, but they work as static environment backdrops immediately.
Advanced Next Steps: Templates, Agency Pipelines, and AI Agent Support
Once you feel comfortable with the 7-step workflow, turn it into a repeatable system. Save every successful scene as a Blender template file that includes the lighting rig, camera path, HDRI, and material library so you can reuse proven setups. Store prompts and seed values in a shared document to keep creative direction consistent across projects. For agencies that manage multiple creator accounts, Sozee’s approval flow lets brand managers review and approve generated assets before scheduling, which keeps brand standards intact across a full roster without per-asset manual oversight.
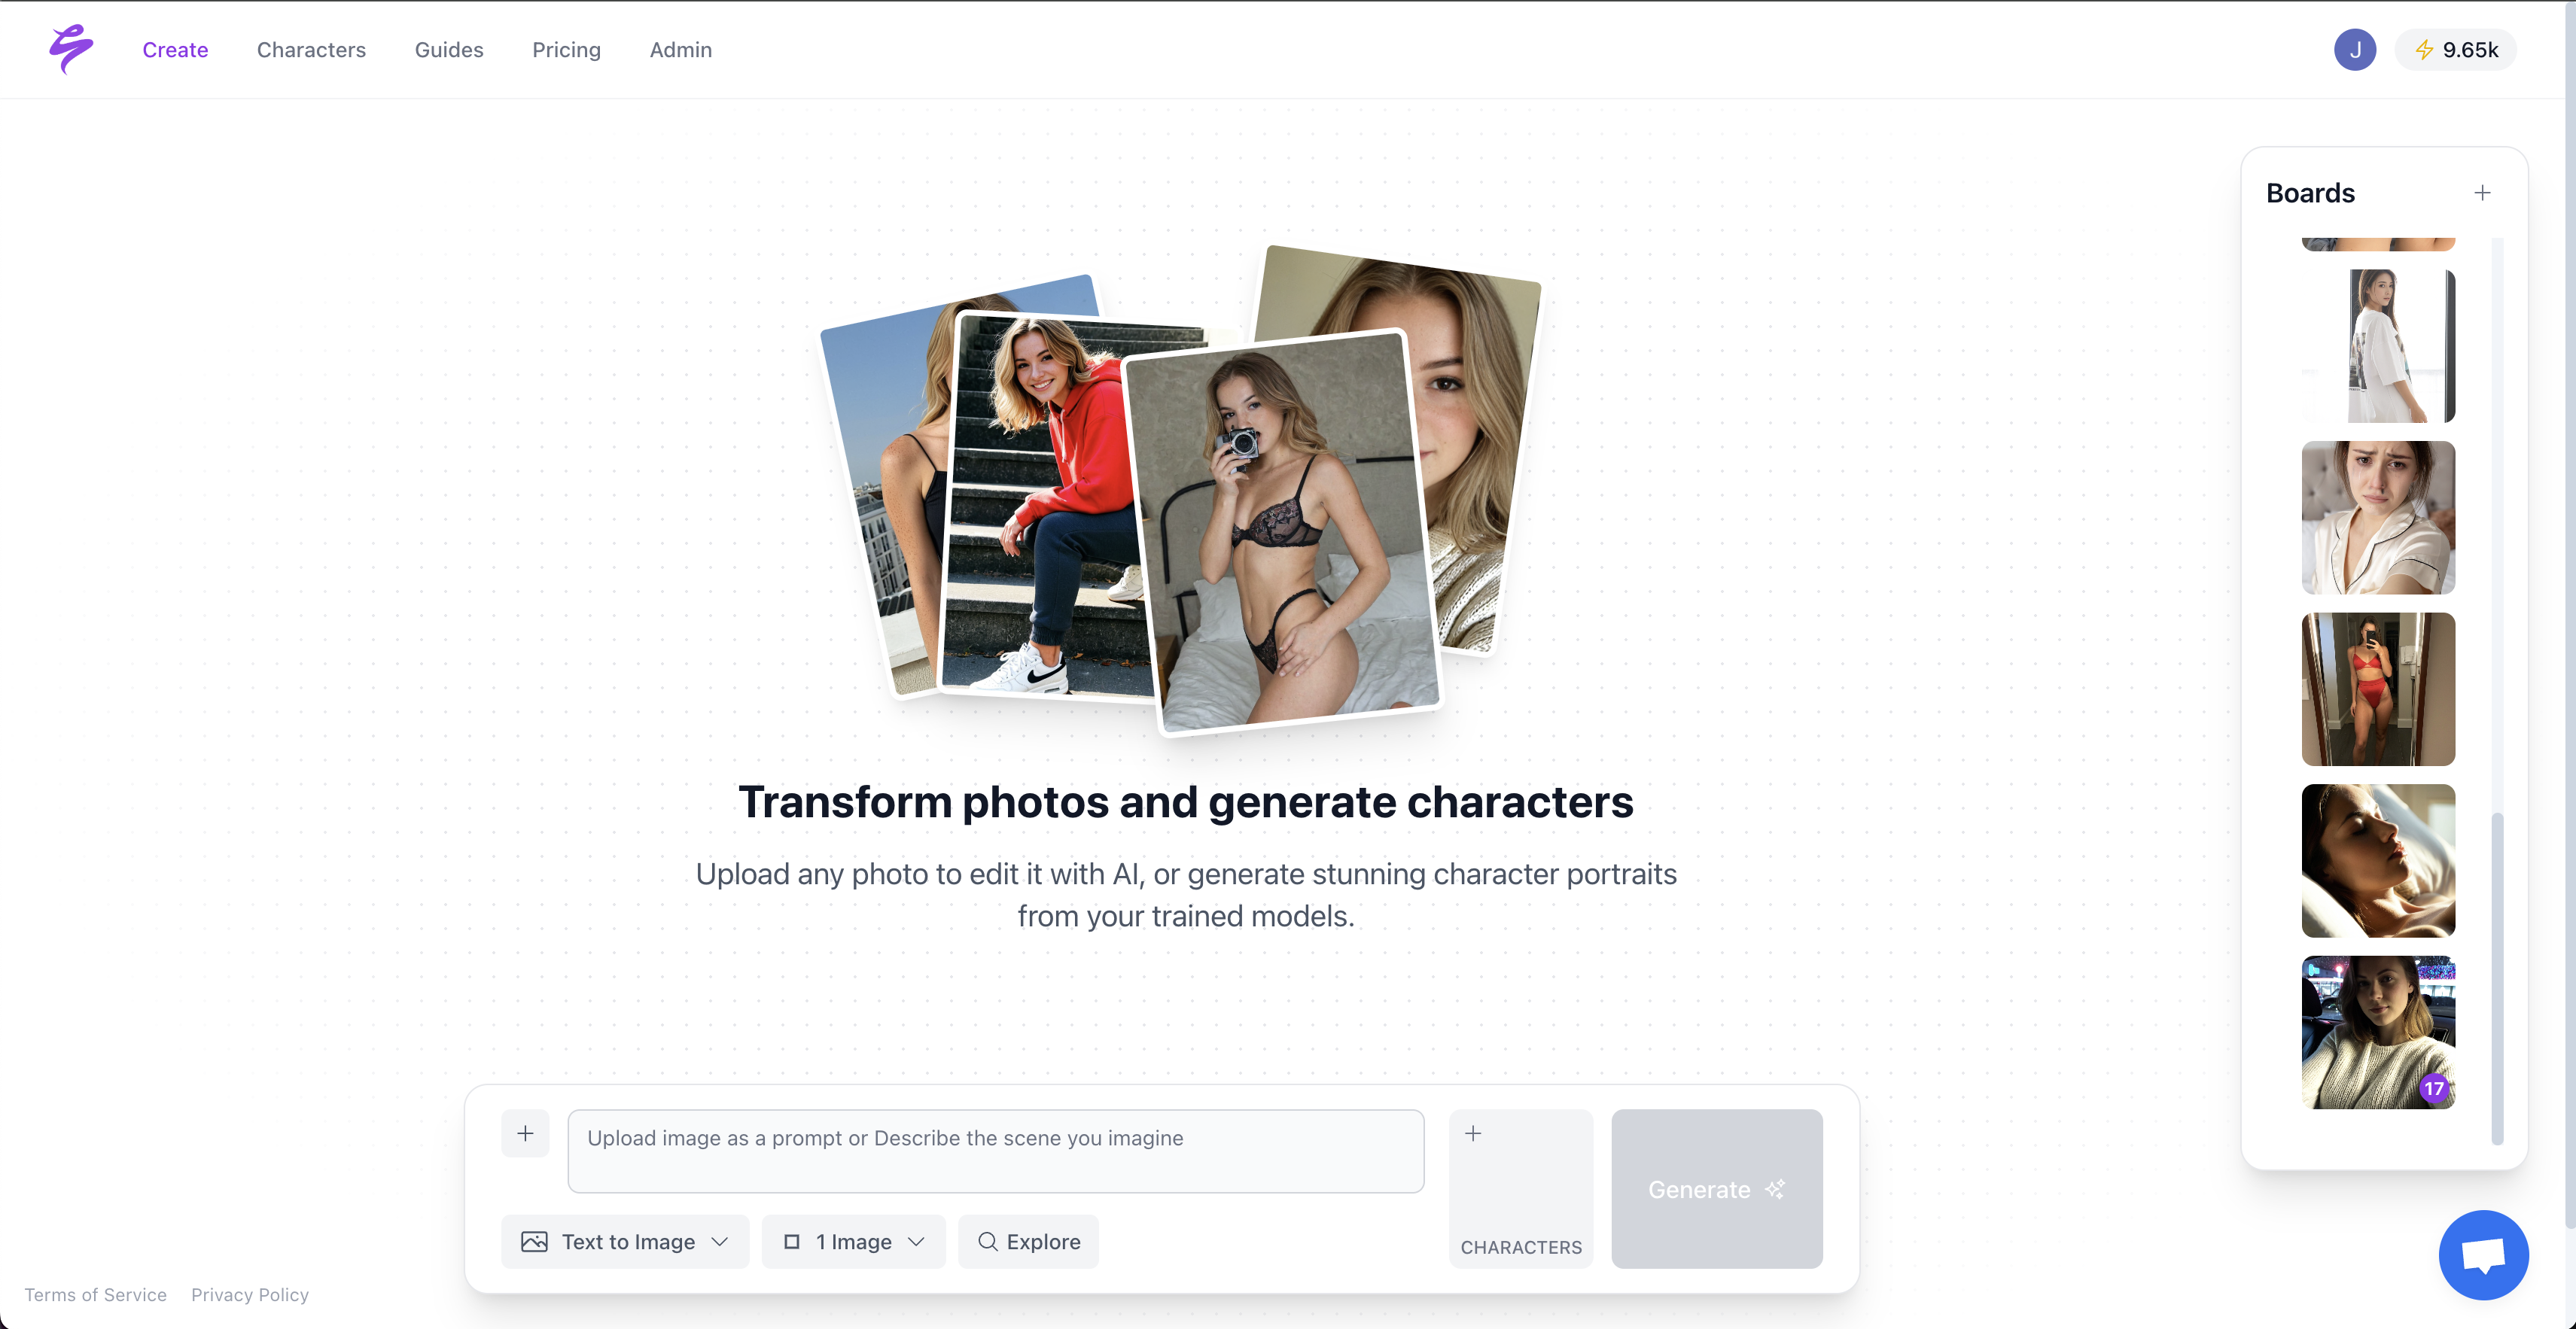
Sozee’s Copilot AI Agent extends this system by handling planning and execution. Brief it with a content theme and target platform, and it proposes ideas, builds the generation brief, executes the workflow, and schedules the output. AI-driven tools are automating labor-intensive tasks such as motion capture cleaning, facial expression rigging, and in-between frame generation, dramatically reducing per-minute production costs and enabling mid-level creators to adopt 3D for monetizable video content. The global 3D animation market is valued at US$32 billion in 2026 and projected to reach US$69.4 billion by 2033, and creator-economy tooling is one of the fastest-moving segments inside that growth.
Frequently Asked Questions
What hardware do I need to run this workflow?
A modern mid-range workstation handles most of this pipeline. Blender 4.2+ runs on any machine with a dedicated GPU, and an NVIDIA RTX 3060 or equivalent is enough for scene cleanup, lighting, and clay-render passes at 1080p. For 4K rendering, an RTX 4070 or above reduces render times significantly. All AI generation steps such as Meshy, Tripo, Rodin, and Luma run in the browser on remote servers, so local hardware only affects Blender work. Sozee’s generation, editing, scheduling, and analytics tools are fully cloud-based and do not require a local GPU.
Does this workflow support NSFW content pipelines for OnlyFans and Fansly?
Yes. Sozee includes a native SFW-to-NSFW funnel that supports export formats tuned for OnlyFans, Fansly, FanVue, TikTok, Instagram, and X. The 7-step framework produces scene assets that feed directly into Sozee’s generation engine, where creators can apply NSFW content settings within platform-compliant workflows. Teaser-pack creation inside Sozee lets creators generate SFW preview clips from NSFW sets automatically, which enables a complete discovery-to-purchase funnel without manual editing or platform switching.
Who owns the AI-generated 3D assets produced in this workflow?
Ownership depends on the terms of each tool you use. Rodin grants full commercial rights even on its free tier. Meshy and Tripo grant commercial rights on paid plans, so review each platform’s current terms before monetizing assets commercially. For content generated inside Sozee, your likeness model is private, isolated, and never used to train external models. Assets generated through Sozee’s platform are yours to publish, sell, and schedule. Always verify the licensing terms of any third-party AI 3D generator before including its outputs in paid content or brand campaigns.
How do I keep a character consistent across both 3D-rendered scenes and 2D AI-generated images?
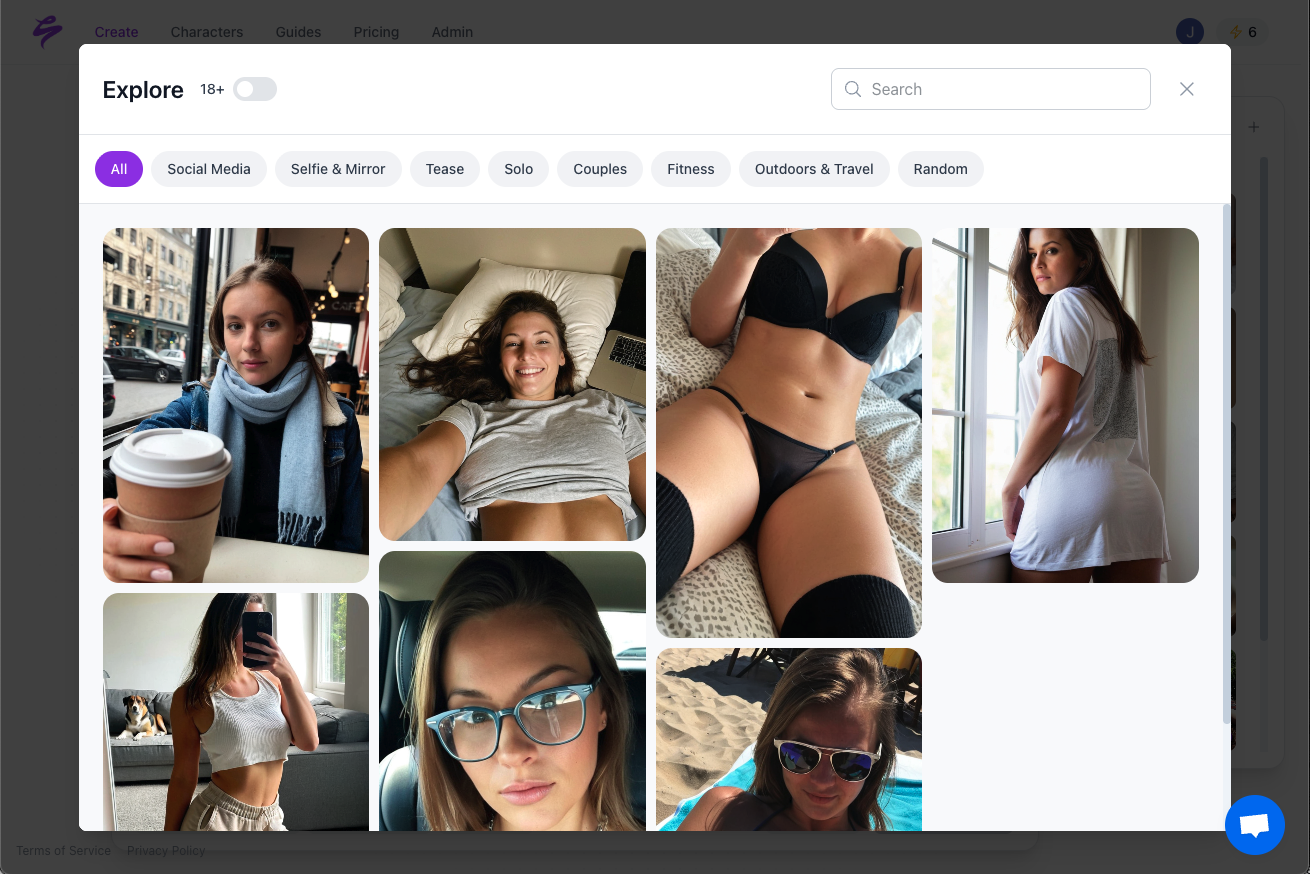
The most reliable method is to establish a canonical reference set for the character before generating any assets. Create a full turnaround with front, side, back, and three-quarter views using a multi-view model such as Hunyuan 3.1 PRO or Tripo P1 Multi View. Save these reference images and use them as input for every later generation, whether 3D or 2D. Inside Sozee, upload as few as three photos to reconstruct a consistent likeness, or generate an original AI character from scratch that remains visually stable across every content set. Sozee’s style bundles and character consistency features maintain this identity across weeks and months of content without manual re-prompting.
How does Sozee integrate with the 3D workflow described in this article?
Sozee acts as the final layer of the pipeline, handling publishing, consistency, and monetization so 3D-rendered clips become a full content business. After completing Steps 1–5 for generation, cleanup, lighting, camera animation, and AI video enhancement, import your final clips into Sozee. From there, use Sozee’s editing suite to refine shots, generate social teaser packs, apply brand-consistent style bundles, and schedule content across major platforms from a single dashboard. The analytics layer then highlights which scenes, styles, and formats drive the highest engagement and revenue, and that data feeds back into your next content batch. Sozee’s Copilot can automate planning and scheduling so a single afternoon of 3D production turns into a month of scheduled, monetized output.
Conclusion: Scale 3D Content Without Physical Shoots
This framework replaces the traditional production bottleneck with a repeatable, scalable system for photorealistic video. Physical presence, hired modelers, and expensive shoots no longer act as hard requirements for high-end visuals. The main constraint now is workflow discipline rather than budget or headcount.
Sozee closes the loop from 3D asset to scheduled, monetized content. Every scene you generate with this workflow can flow straight into a platform built for creator-economy monetization, with native scheduling, analytics, character consistency, and an AI agent that can run much of the operation on your behalf.
Go viral today by signing up for Sozee and turning your first AI 3D scene into a month of content.