How to Overcome the Uncanny Valley in AI-Generated Art
Fix dead eyes, broken hands & plastic skin in AI art. Sozee’s 5-step workflow gives you consistent, human-looking results every time. Try Sozee free.
The Sozee teamAugust 22, 202613 min read
Key Takeaways for Human-Looking AI Art
The uncanny valley in AI art is driven by five measurable triggers: eyes, skin texture, hands, expression coherence, and environmental physics.
Targeted prompt pairs, where positive descriptors pair with weighted negative terms, directly suppress each trigger and restore human realism.
Controlled asymmetry and micro-imperfections such as pores, film grain, and lens effects break mathematical perfection that viewers subconsciously reject.
Inpainting plus reference-image anchoring converts one-off fixes into reusable character assets that stay consistent across dozens of frames.
Sozee turns this five-step workflow into a scalable studio system. Sign up today to lock characters, reuse assets, and produce monetizable content without burnout.
Step 1: Spot the Five Most Common Uncanny Triggers
The five triggers responsible for the majority of uncanny valley failures are:
Eyes and gaze: Asymmetric irises, dead pupils, misaligned gaze direction, and absent catchlights signal non-human origin immediately.
Skin texture: Plastic, waxy, or porcelain skin caused by over-smoothed training data or high CFG scale values flattens the micro-detail that makes skin read as living tissue.
Hands: Fused fingers, extra digits, and incorrect joint angles remain the most common structural artifact in diffusion output.
Expression coherence: Micro-expressions that do not match the macro-expression, such as a smile with tense brow muscles, register as emotionally false.
Environmental physics: Inconsistent lighting, physically implausible scenes, and illogical scene construction weaken perceived realism even when overall visual detail is high.
Common pitfalls to avoid:
Generating at low resolution and upscaling without a detail pass, because hands and eyes degrade first.
Using CFG scale above 10, which over-saturates skin and removes pore-level texture.
Placing hands in ambiguous poses where the model has no clear structural reference.
Mixing lighting temperatures between subject and background without a grounding shadow.
Step 2: Use Targeted Prompt Pairs for Each Trigger
Generic positive prompts produce generic results. Each uncanny trigger responds best to its own prompt pair, with a positive term that directs model attention toward the correct feature and a weighted negative term that suppresses the failure mode.
Use the Curated Prompt Library to generate batches of hyper-realistic content.
Lens character: soft lens flare, slight barrel distortion, subtle chromatic aberration on the edges, noticeable vignetting
Use micro-prompt chaining by generating a base image, then running a second pass with only the asymmetry and imperfection terms added. This preserves the composition while layering in organic variation. Before this pass, skin reads as rendered. After it, skin reads as photographed.
Step 4: Fix Local Problems with Inpainting and References
Prompt work corrects systemic issues across the whole frame. Inpainting corrects specific regions without regenerating the entire image.
The standard inpainting workflow for uncanny valley fixes follows a clear sequence:
With the mask defined, set denoise strength to 0.4–0.5 for hands and skin and use 0.3–0.4 for eyes to preserve surrounding structure. Lower values for eyes keep the correction close to the original composition.
Write a targeted inpaint prompt such as close up portrait of a face, sharp focus, symmetrical eyes, detailed eyelashes, natural skin texture with the Only Masked option active to render at full resolution before blending. This focused prompt keeps the model attention on the problem area.
Run face restoration models such as GFPGAN or CodeFormer as a final pass. These models automatically detect and correct symmetry issues in eyes and teeth by snapping them into realistic configurations and catching remaining artifacts.
Watch for these inpainting failure modes:
Mismatched lighting between the inpainted region and the original frame. Always include the original lighting direction in the inpaint prompt.
Expression drift when inpainting the mouth area. Anchor the expression term explicitly with natural smile, relaxed jaw, consistent expression.
Skin tone boundary artifacts. Extend the mask to include a transition zone of at least 20–30 pixels around the target region.
Build a multi-angle turnaround sheet with front, three-quarter, and profile views and vary expressions and outfits while anchoring each frame to the master reference.
Run a human Turing test by showing five frames to a person unfamiliar with the project and asking whether they depict the same individual. If the answer is yes within five seconds, the likeness is stable.
Track success for a consistent character set with these signals:
Five-second human Turing test passes across 10 or more frames without re-rolling.
Facial geometry remains consistent across angle changes such as front, three-quarter, and profile.
Outfit and environment changes do not alter face or body proportions.
No regeneration is required to recover the character’s face after a scene change.
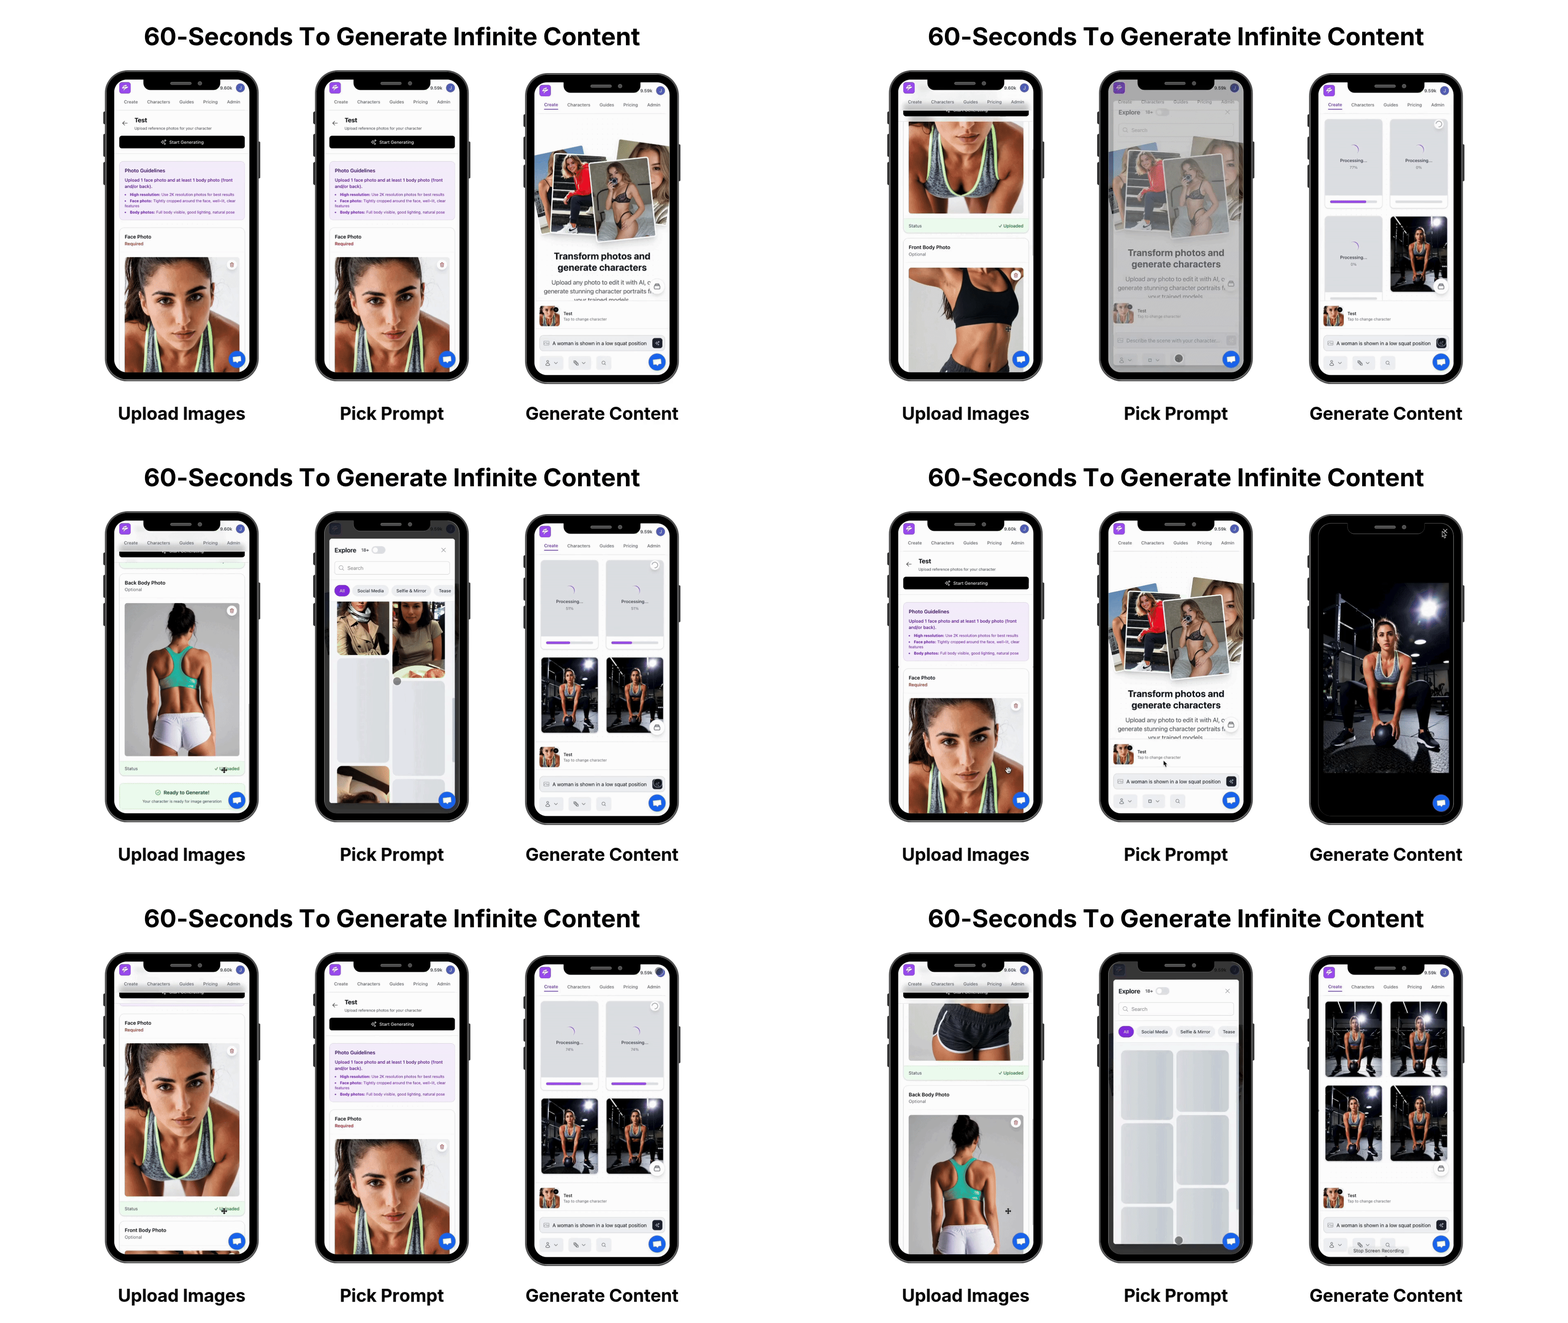
Sozee’s Photo Control and Photo Shoot features operationalize this entire step natively. Photo Control locks five dimensions, which are Setting, Outfit, Shot style, Expression, and Object, in a single directed panel. Photo Shoot takes one corrected image and builds a coherent set of up to ten around it, with identity, outfit, and environment held constant while angle, pose, and expression vary. Start creating now and keep your character’s likeness consistent across every frame.
Sozee AI Platform
Advanced Tips: Scale with Reusable Assets and Agent Support
Once the five-step workflow produces a consistent character, production velocity becomes the main constraint. Rebuilding environments, outfits, and scene context from scratch for every shoot quickly turns into the next bottleneck after solving the uncanny valley problem.
Sozee’s asset library removes most of that rebuild cost. Environments are constructed from up to four reference shots and saved as reusable spaces, so a bedroom built once becomes a location available for every future shoot. Outfit libraries assemble full looks from individual pieces per category. Object libraries attach props inline using the @ reference system, without interrupting the prompt sentence.
Why do AI-generated eyes look wrong even when the rest of the image looks realistic?
Eyes fail because they require simultaneous accuracy across multiple interdependent features such as iris shape, pupil size, catchlight placement, eyelash density, and gaze direction. A model that gets four of five correct still produces an eye that reads as artificial, because the human visual system is calibrated to detect gaze misalignment and pupil irregularity at a neurological level even when the viewer cannot consciously identify the problem. The fix is to treat eyes as a separate inpainting target rather than relying on the base generation to resolve them. Use weighted positive prompts such as (sharp focus on eyes:1.3) and (highly detailed pupils:1.2), then run a face restoration model as a final pass to snap symmetry into place. Denoise strength of 0.3–0.4 preserves surrounding structure while correcting the iris and pupil geometry.
What is the most effective negative prompt strategy for realistic skin texture?
The most effective approach combines weighted negative terms with positive texture descriptors rather than relying on negatives alone. Negative terms such as (plastic skin:1.3), (airbrushed:1.2), waxy skin, porcelain skin, and overly smooth skin suppress the over-polished output that high CFG scale values produce. Positive terms such as visible skin texture, natural skin, pores, subtle skin imperfections, and hyper-detailed skin direct model attention toward the micro-detail that makes skin read as living tissue. Adding a film stock reference such as “shot on Kodak Portra 400” introduces analog grain that breaks up mathematical gradients without requiring post-processing. CFG scale should stay between 5 and 8, because values above 10 consistently flatten pore-level detail regardless of prompt content.
How do I fix hands without regenerating the entire image?
Inpainting is the correct tool for hand correction. Mask the hand region and extend the mask slightly beyond the distorted area to create a natural blend boundary. Set denoise strength to 0.4–0.5. Write a task-specific inpaint prompt such as “a hand holding a coffee cup, five fingers, correct hand anatomy, natural hand pose” rather than a generic hand description. The specific task gives the model a structural reference that resolves finger count and joint angles. For persistent issues, ControlNet with OpenPose provides a skeleton reference map that forces the model to adhere to correct joint structure. Generating at the model’s native resolution and upscaling afterward also reduces hand artifacts, because hands occupy a small share of the frame and degrade first at low pixel counts.
How does expression coherence affect viewer trust, and how is it fixed?
Expression incoherence, where a macro-expression does not match the underlying micro-expressions, registers as emotionally false at a pre-conscious level. A smile with tense brow muscles or relaxed eyes paired with a clenched jaw produces the same implicit rejection response as anatomical distortion. The fix operates at two levels. At the prompt level, specify the complete emotional state rather than a single expression term, so “genuine smile, relaxed brow, soft eyes, natural expression” gives the model a coherent emotional target. At the inpainting level, when correcting the mouth or brow region, always include the full expression anchor in the inpaint prompt to prevent drift between the corrected region and the surrounding face. Sozee’s Expression dimension in Photo Control addresses this directly by treating expression as a deliberate directorial choice rather than a loose prompt variable.
How do I maintain consistent character likeness across a full content set without re-rolling?
Consistent likeness across a set requires three things: a strong master reference image, seed locking, and a reference-first workflow. Generate one front-facing, well-lit, neutral-expression portrait with all uncanny valley fixes applied, then lock the seed. Attach that exact high-resolution image as a reference to every subsequent generation rather than re-describing the face in text. Use anchor phrases such as “keep the same facial features and proportions, change only the background” to instruct the model to treat the reference as canonical. Avoid stacking conflicting style cues, describing the face in heavy text detail instead of relying on the reference, or regenerating from zero for each new scene, because these habits commonly cause character drift across a set. Sozee’s Photo Shoot feature automates this process, so one corrected image becomes a coherent set of up to ten frames with identity held constant across angle, pose, and expression changes.
Conclusion: Turn Uncanny Fixes into a Studio-Grade Workflow
This five-step workflow, which covers diagnosing triggers, applying targeted prompt pairs, adding controlled asymmetry, running surgical inpainting fixes, and holding character likeness across a full set, converts the uncanny valley from a recurring bottleneck into a solved problem. Each step produces a reusable output such as corrected prompt templates, saved negative prompt stacks, inpainting masks, and a master reference image that anchors every future shoot.