Last updated: July 10, 2026
Key Takeaways for a Weekly Krea Workflow
- Krea AI supports a weekly pipeline that produces 30+ consistent photos and short clips once templates and trigger words are saved.
- Strong results start with varied reference photos that cover lighting, angles, expressions, backgrounds, framing, and clothing.
- Choosing either character training for facial identity or style training for visual aesthetics prevents most downstream drift.
- Reusable master prompt templates, saved canvas presets, and pose references keep outputs consistent while cutting editing time to 10–15 minutes per session.
- Sozee removes Krea’s training overhead. Upload three photos and then generate, edit, schedule, and measure performance. Start your free trial.
Step 1: Build a High-Quality Reference Photo Set
The quality of your reference set sets the ceiling for your character consistency. LoRA-based training requires 15–30 character images to build an adapter that generates new images without re-uploading references. Collect photos that match the full range of conditions your content will show.
Photo-variation checklist:
- Lighting: natural daylight, studio softbox, golden hour, indoor ambient
- Angle: front-facing, three-quarter, profile, slight low-angle, slight high-angle
- Expression: neutral, smiling with teeth, determined, relaxed
- Background: plain white, outdoor, indoor, blurred bokeh
- Framing: head-and-shoulders, waist-up, full-body
- Clothing: at least three distinct outfit types that match your content pillars
Pro Tip: Avoid sunglasses, masks, and extreme expressions in reference photos, because they reduce the model’s ability to infer accurate facial structure. Store all photos in a named folder such as CharacterName_RefSet_v1 and keep each character’s reference set separate.
Step 2: Choose Between Character and Style Training
Krea AI presents two main training paths in its model creation interface. This choice strongly affects how stable your results stay over time.
- Character training (face lock): Select this when you need to reproduce a specific person’s facial identity across many scenes, outfits, and poses. Krea labels this option as “Character” in the training UI. Use it for personal brands, virtual influencers, and agency talent.
- Style training: Select this when you want to reproduce a visual aesthetic such as color grading, lighting mood, or illustration style instead of a specific face. Use it for brand campaigns, product shoots, and abstract content pillars.
Modern reference-based workflows such as Soul ID establish a consistent character in minutes. Plan that short setup window into your first session.
Step 3: Lock Trigger Words and Real-Time Canvas Settings
After training completes, Krea assigns or lets you define a trigger word. This unique token, such as MYCHARCTR, activates the trained model weights in any prompt. Follow these rules for trigger words:
- Use an uncommon string that does not appear in standard vocabulary to avoid semantic interference.
- Place the trigger word at the start of the identity block in every prompt.
- Never substitute synonyms and keep descriptive keywords identical across prompts, such as always “shoulder-length brown hair,” never “medium brown hair.”
In Krea’s Real-Time Generation canvas, set these controls before any batch to lock in visual parameters that prevent drift:
- Model: select your trained character or style model from the dropdown. This choice activates the identity you trained.
- Aspect ratio preset: lock to 9:16 for Reels or TikTok or 1:1 for feed posts and never change it mid-batch, because switching aspect ratios forces the model to recompose the frame and can alter facial proportions.
- Creativity/Variation slider: reduce this slider to the lower third of the range to minimize random modifications that compete with your saved identity lock.
Pro Tip: Save your aspect-ratio and model combination as a named canvas preset in Krea. Loading a preset at the start of each session removes a common source of accidental setting drift.
Step 4: Use External Pose References for Stable Framing
Krea’s Real-Time canvas accepts reference image uploads that guide pose and composition. Pair this feature with an external pose tool such as Pose My Art to create precise skeletal references before you open Krea.
- Open Pose My Art, pose the 3D figure into the target position, and export a flat render.
- Upload the pose render into Krea’s reference image slot on the Real-Time canvas.
- Set the AI Strength slider to 60–70% so Krea preserves pose structure while your trained character’s face and style stay dominant.
- Use 100% AI Strength only when you need an exact structural match, because this setting reduces stylistic fidelity.
Weak cross-frame alignment in video models causes spatial relationships to shift between frames. Anchoring pose with an external reference at the still-image stage keeps that drift from entering the video pipeline later.
Step 5: Build Master Prompt Templates for Fast Batching
Elser AI recommends a five-part character consistency prompt structure: identity lock, scene action, camera direction, lighting or style control, and negative restrictions. The table below shows how each part looks in a Krea prompt. Use it as a template for your first batch and keep the identity lock and lighting columns fixed while you vary only action and camera between shots.
| Column | Purpose | Example Value |
|---|---|---|
| Identity Lock | Trigger word + fixed character descriptors | MYCHARCTR, 28-year-old woman, shoulder-length brown hair, green eyes, olive skin |
| Action / Pose | What the character is doing | sitting cross-legged on a rooftop, looking toward camera |
| Camera | Shot type and framing | medium close-up, slight low angle, 85mm lens |
| Lighting / Style | Visual direction and mood | golden hour backlight, warm color grade, cinematic |
| Negative Restrictions | Features explicitly excluded | no beard, no glasses, no hat, no color change to hair |
Use this batch-generation checklist for each weekly session:
- Load your saved canvas preset that combines model and aspect ratio.
- Paste the identity lock block from your saved template and avoid retyping it.
- Vary only the Action or Pose and Camera columns across the batch.
- Generate 5–10 variations per pose before moving to the next pose.
- Flag top selects immediately and delete rejects so export stays simple.
- Save any new prompt variant that outperforms the template as a new named bundle.
Pro Tip: Create one permanent identity block and reuse it across scenes while you vary only action, camera, and environment. Rewriting the identity block per session is the most common cause of character drift.
Step 6: Turn Approved Stills into Short Video Clips
After you approve a batch of stills, move into Krea’s Video Generation tab and convert those images into short clips.
- Upload a selected still as the Start Frame.
- Optionally upload a second still as the End Frame to define a motion arc.
- Write a simple camera movement prompt such as slow push-in, subject remains stationary, shallow depth of field.
- Keep motion prompts minimal, because complex instructions compete with the identity lock and increase drift risk.
- Generate clips at 3–5 seconds for Reels-compatible assets.
Reference chaining, where you upload the final frame of one clip as the reference for the next prompt, creates frame-to-frame continuity. This technique reduces visual drift across multiple scenes without retraining the model.
Pro Tip: Prototype each scene as a still image before you commit to video generation. Treat image generation as a storyboarding phase that allows cheap iteration and gives precise visual references. This approach lets the later video prompt focus only on camera movement and action.
Step 7: Prepare, Resize, and Caption for Each Platform
Once you have your stills and clips, prepare them for each platform’s technical requirements and audience expectations.
Export settings by platform:
- TikTok and Instagram Reels: 1080×1920 px, 9:16, 30 FPS, MP4. Reels reach 2–5 times more accounts than in-feed posts according to 2026 analyses, so vertical format is essential.
- Instagram feed (square): 1080×1080 px, 1:1.
- X (Twitter): 1280×720 px, 16:9 for video and 1200×675 px for stills.
Use caption best practices that mirror the template-and-variation approach you used for prompts:
- Lead with the payoff or hook in the first line. The optimal Reels length for many business accounts is 21–34 seconds, so the caption should match that urgency.
- Write one caption template per content pillar and vary only the specific detail, just as you locked the identity block and varied only action and camera.
- Include a single, specific CTA per post, not multiple asks, to keep the same focus and clarity that your visual consistency creates.
Pro Tip: High-engagement brands often post 2–3 times per week on Instagram. Schedule your batch across the week instead of publishing all assets on one day.
Fixing Inconsistency: Troubleshooting Table
When your generated outputs show visual drift even after you follow the pipeline, use this table to diagnose the root cause. Match the issue you see to the likely cause, then apply the parameter fix before your next batch.
| Drift Issue | Likely Cause | Parameter Fix |
|---|---|---|
| Face shape changes between generations | Identity lock block rewritten or trigger word missing | Paste the saved identity block verbatim and confirm the trigger word appears first in the prompt |
| Hair color or length shifts | Vague hair descriptor or missing negative prompt | Specify an exact shade such as “chestnut brown, shoulder-length” and add “no hair color change” to negatives |
| Hands appear distorted | High creativity slider and no pose reference for hands | Lower the creativity slider, upload a hand-specific pose reference, and add “detailed hands, correct finger count” to the prompt |
| Outfit changes between shots | Outfit not specified in identity lock | Add an exact clothing description to the identity block and use Elser AI’s Outfit Preservation add-on template listing exact items and forbidding additions |
| Lighting mood inconsistent across batch | Lighting column varied unintentionally | Lock the lighting descriptor in the saved template and change it only when you intentionally switch content pillars |
When Krea Workflows Stop Scaling Smoothly
Krea’s training-based approach works well for creators who can invest initial setup time and handle ongoing maintenance. At scale, several friction points start to compound.
- Every new character or major style change requires a fresh training run.
- Krea lacks native social scheduling, so you must export files into a separate scheduling tool.
- No built-in analytics show which generated assets actually drive follows or sales.
- Many teams already cite lack of time as the biggest challenge in video production, and a training queue adds more workload.
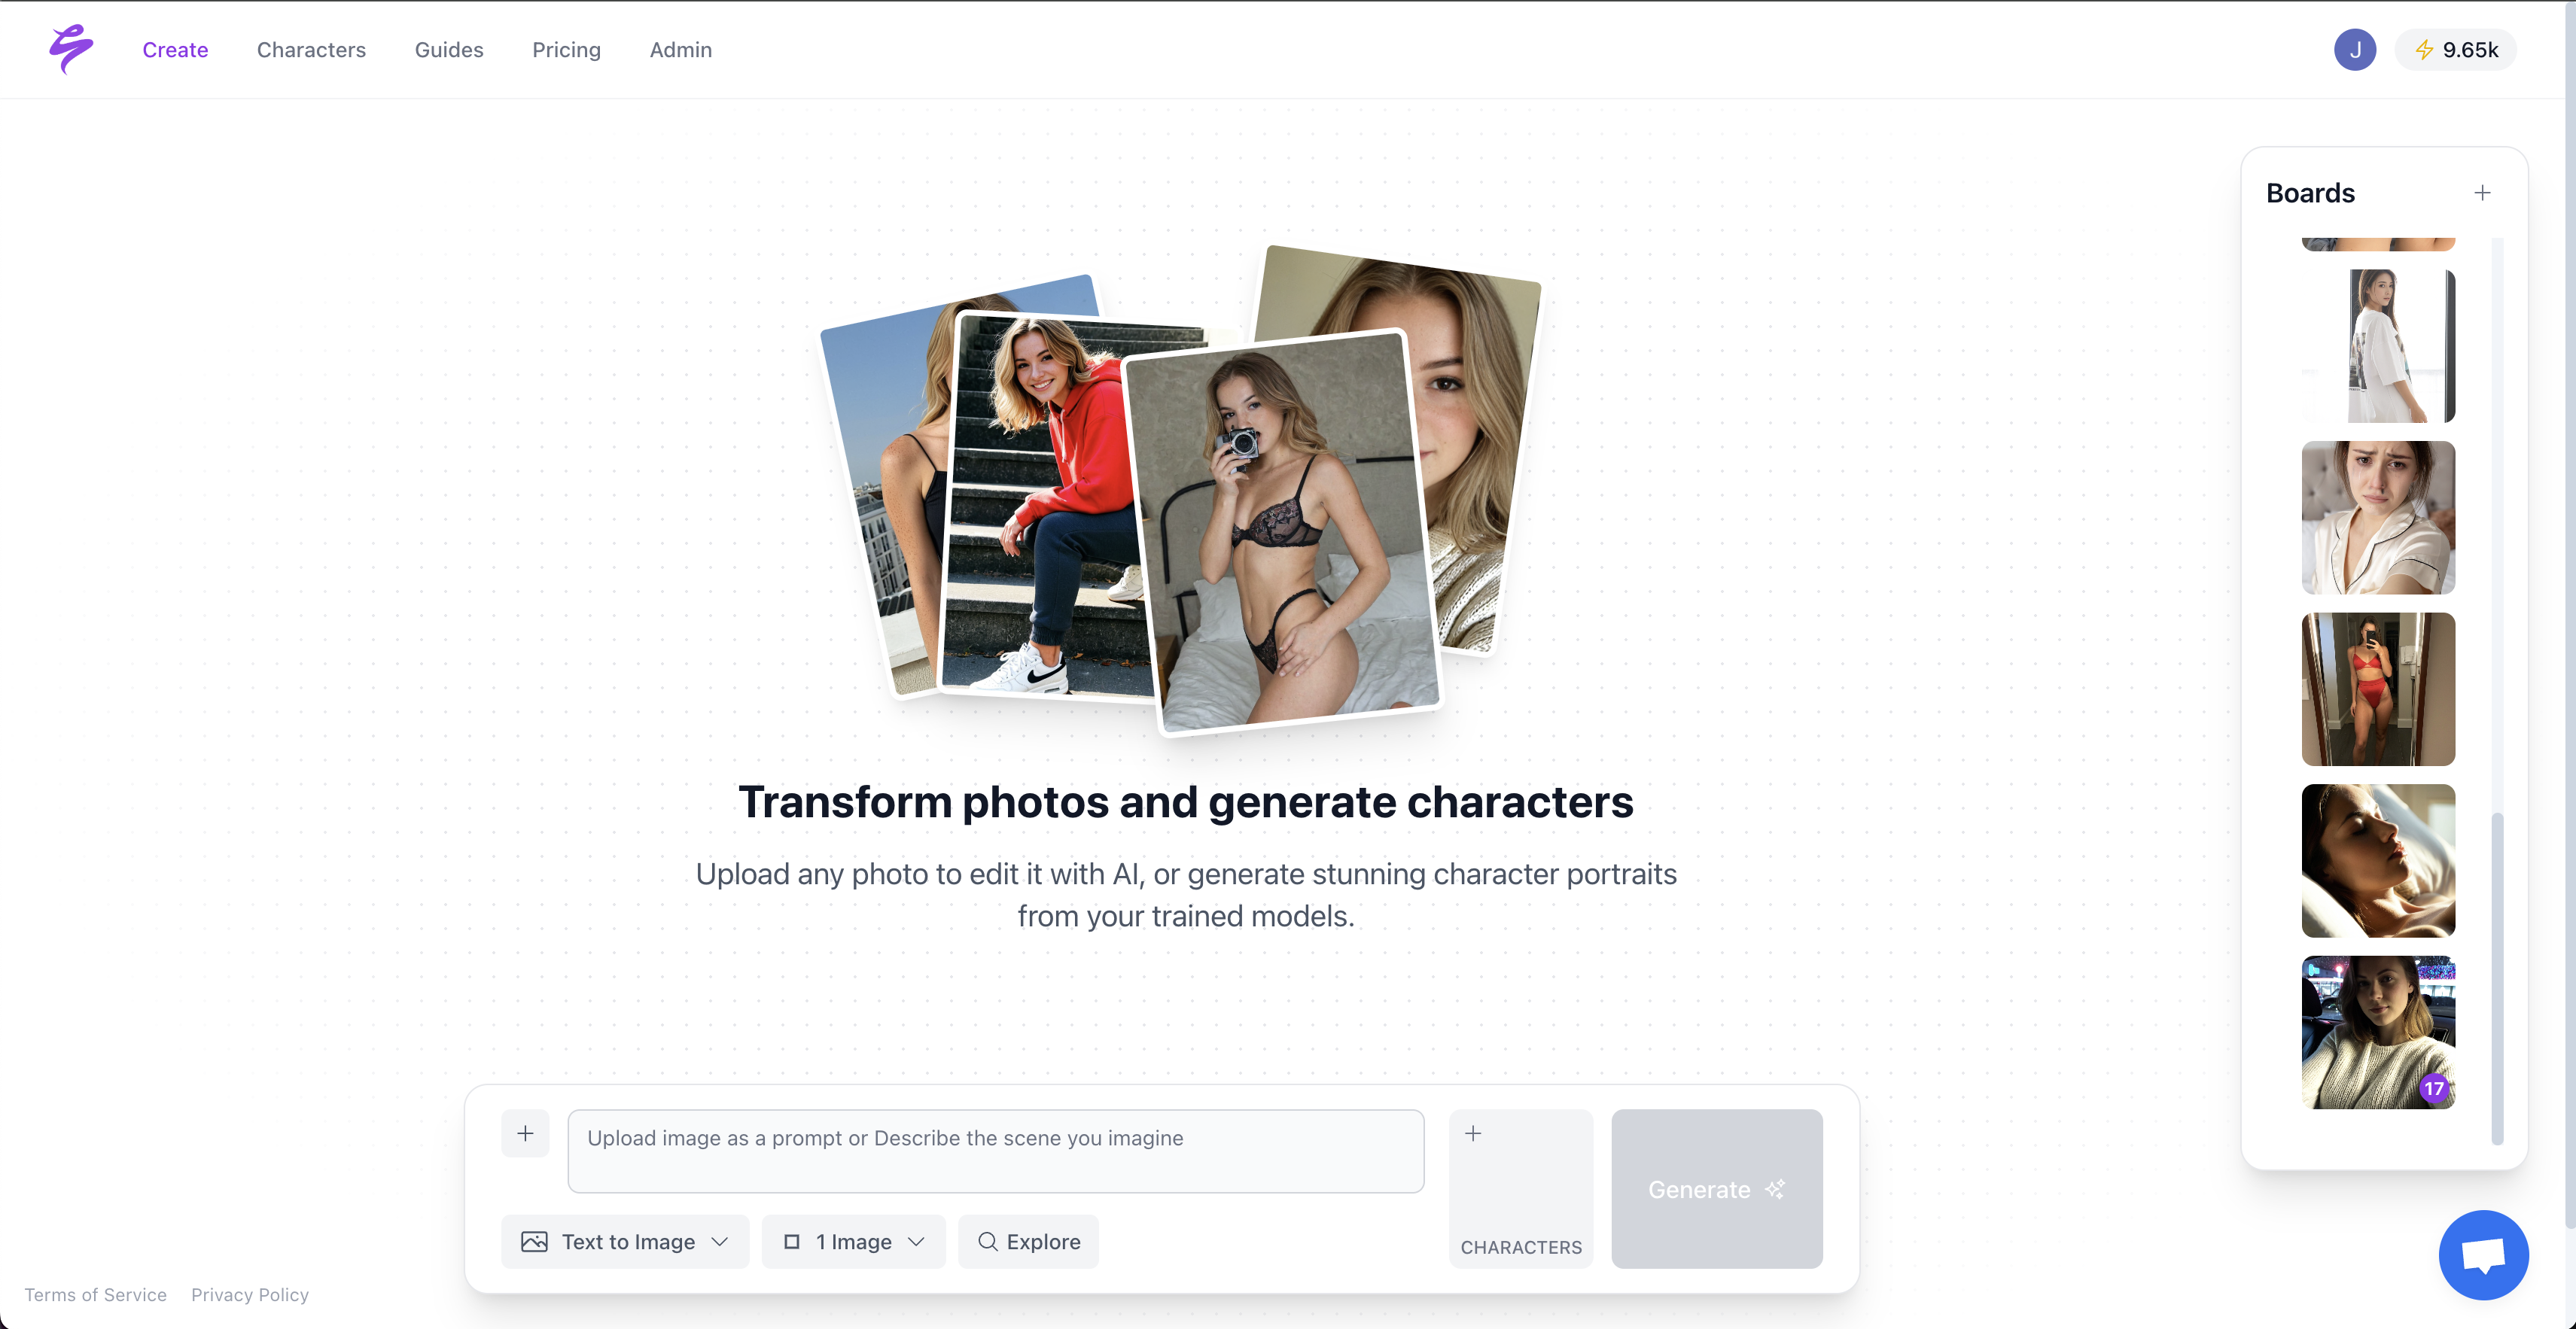
Sozee removes the training requirement entirely. Sozee’s instant reconstruction from just three photos eliminates the training queue, trigger-word setup, and reference folder management that Krea requires. From that single starting point, the platform generates photos, text-to-video, video-to-video, and reel clones, then edits, schedules, publishes, and measures performance in one place. For agencies managing multiple creators, Sozee’s Copilot agent can plan, brief, and execute the weekly content operation across a full roster.
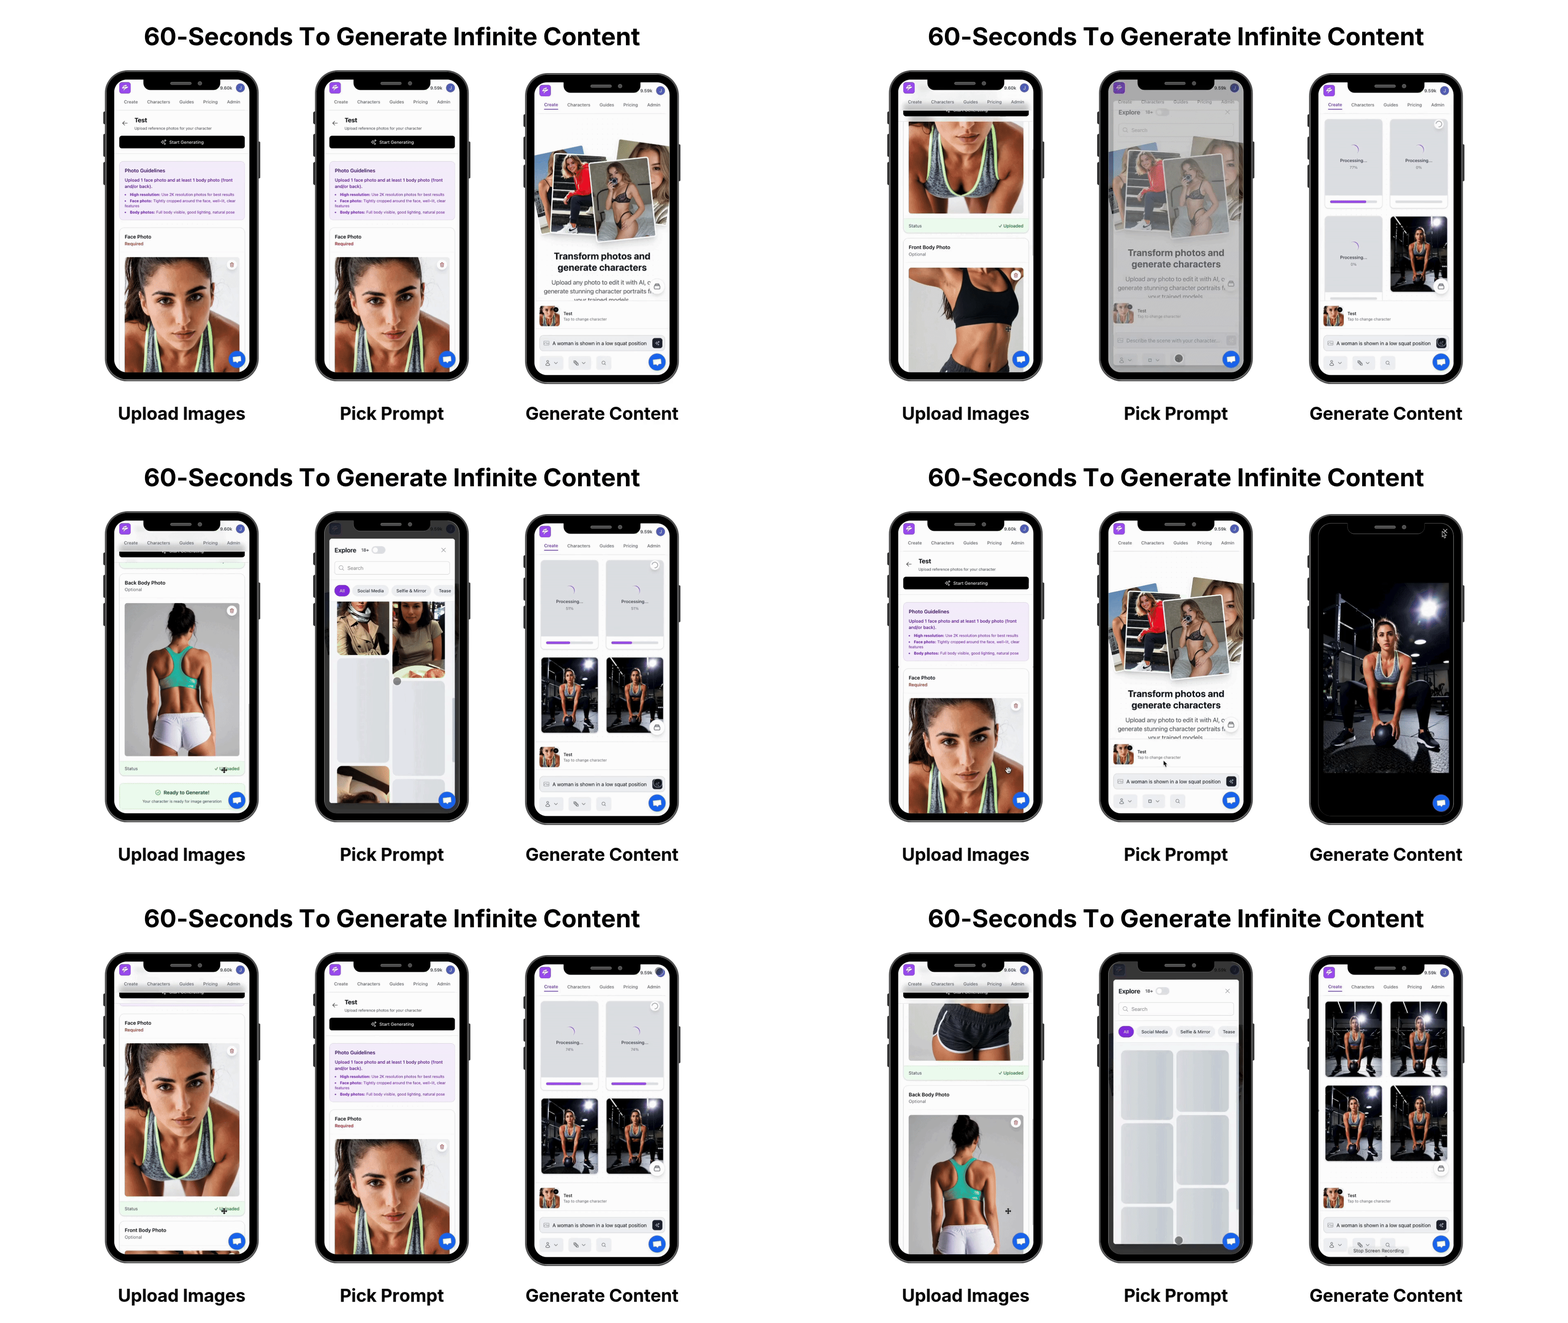
The comparison is direct. Krea requires training time, external scheduling tools, and separate analytics. Sozee closes the entire loop from creation to revenue in one place, starting from three photos.
Success Metrics for Your Weekly Pipeline
After you complete this pipeline, you should produce and schedule a week of consistent creator content in under two hours. Expect 45–90 minutes for first setup, then 10–15 minutes per batch using saved templates, presets, and trigger words. Creators and agencies who want to remove even that recurring overhead and gain native scheduling, analytics, and SFW-to-NSFW export can move directly into Sozee.
Frequently Asked Questions
How many photos do I need to train a Krea character model?
As noted in Step 1, you need 15–30 photos for Krea’s LoRA-based character training. Beyond that minimum count, prioritize variation. Every photo should show the face clearly without sunglasses or masks and should vary across lighting, angles, and expressions so the model learns a complete picture of the character’s appearance.
Can I change outfits later without retraining?
Outfit changes are possible with some care. If the character model was trained on photos that feature one dominant outfit, that outfit may appear even when you specify a different one in the prompt. The reliable fix is to include the exact target outfit description in the identity lock block of every prompt and add explicit negative restrictions that forbid the original outfit’s key items. For major wardrobe shifts, such as moving from casual streetwear to formal attire as a permanent content pillar, a new training run with outfit-varied reference photos usually produces cleaner results than prompt-only correction.
How do I keep hands consistent across generations?
Hands are the most structurally complex element for diffusion models to render consistently. Three combined tactics work best in Krea. First, lower the creativity or variation slider to reduce random structural interpretation. Second, upload a pose reference image that clearly shows the hand position you want, using a tool like Pose My Art to generate a clean skeletal reference. Third, add “detailed hands, correct finger count, natural hand proportions” to the positive prompt and “distorted hands, extra fingers, fused fingers” to the negative prompt. When hands appear in video clips, prototype the hand pose in a still image first and use that still as the Start Frame for video generation.
What is the best AI Strength setting for pose control in Krea?
A setting of 60–70% AI Strength on the Real-Time canvas reference image slot usually gives the best balance between pose adherence and character fidelity. At this range, Krea interprets the pose geometry while your trained character’s face, skin tone, and style stay dominant. Settings above 80% force the model to match the reference image too literally, which can suppress the trained character’s identity and introduce visual elements from the reference photo. Reserve 100% AI Strength for cases where you need exact structural replication and can accept lower character fidelity.
What are the best Krea AI alternatives for creators who want to skip training entirely?
Sozee is the purpose-built alternative for creators who need consistent character content without any training workflow. The platform reconstructs your likeness from three source photos, compared to Krea’s 15–30 image training requirement, then generates photos, short videos, text-to-video, and reel clones from that likeness. Sozee also includes a full editing suite, native social scheduling, analytics, and SFW-to-NSFW export in one place. For creators who want to build an entirely original AI character without source photos, Sozee’s character generation feature produces a fully consistent persona from scratch. Other reference-based tools such as Higgsfield Soul ID and Mage’s Mango 2 Characters reduce training friction compared to Krea, but neither closes the full loop from content creation through scheduling and performance measurement the way Sozee does.